
-
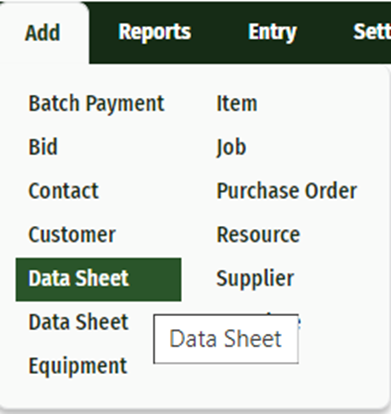
From the ‘Add’ dropdown menu, click ‘Datasheet’
-
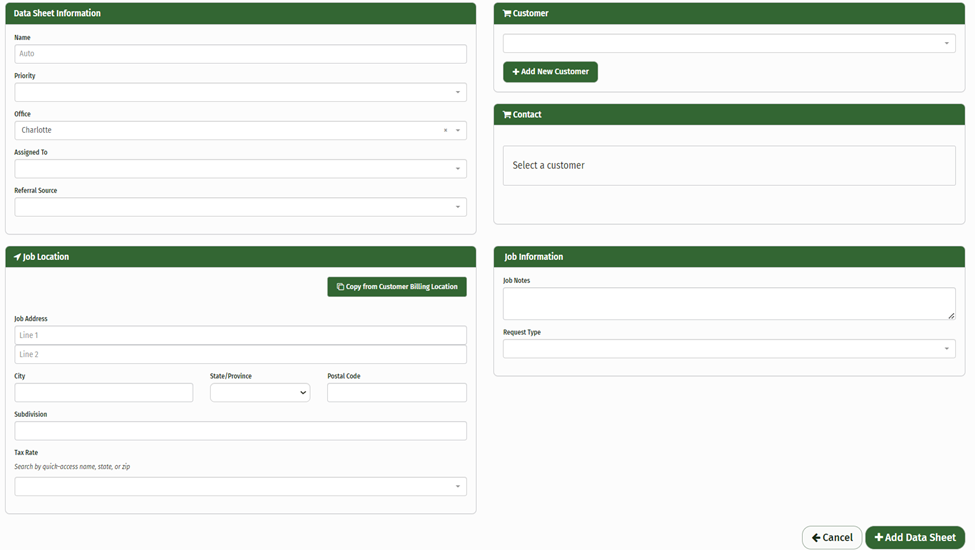
Fill out the Datasheet Information:
-
Datasheet names should be unique to each individual entry. A good way to do this is by listing the name of the job and the address, i.e. Smith, John--123 Second Street.
-
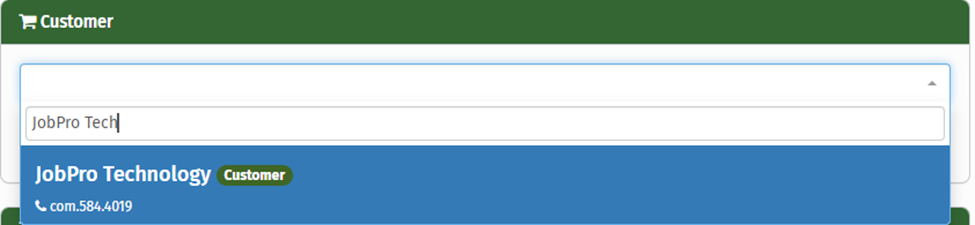
To choose a customer that already exists in your database, simply begin typing in the customer field and their name will populate in a dropdown menu.
-
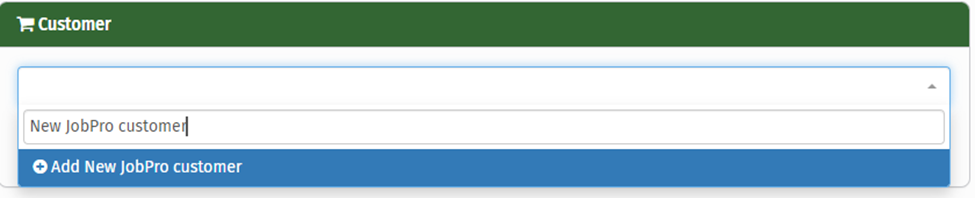
If the customer does not exist, type their name in and then select ‘Add New Customer’. After clicking a new menu will pop up for you to fill in the new customer information.
-
-
Set Priority of the Job
-
Select which office the datasheet is linked to
-
Assign a Salesperson.
-
Select a referral source
-
-
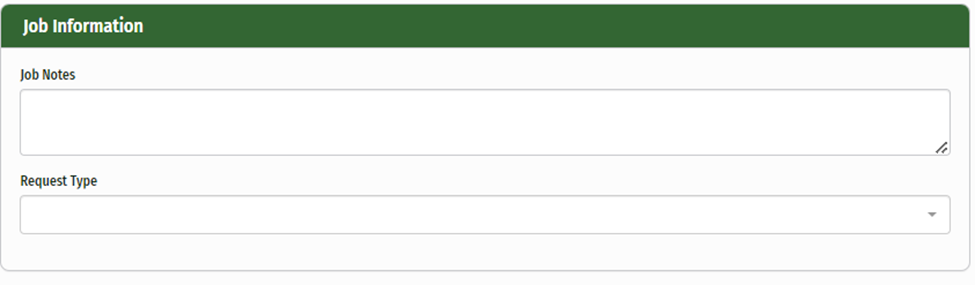
Fill out Job Information
-
The first textbox, ‘Job Notes’, allows you to explain what the job entails and will be displayed on the Job and Bid worksheets.
-
The ‘Request Type’ textbox is for Request Questions
-
-
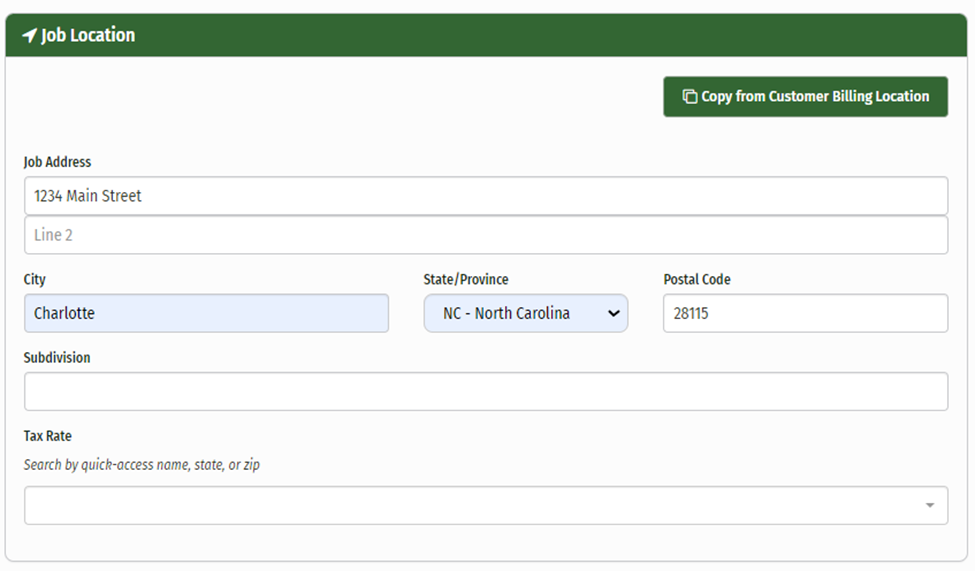
Fill out the Job Location
-
If the location matches the Customer billing location, simply click the ‘Copy from Customer Billing Location’ button
-
If not, fill out the job location information
-
Once you’ve added a postal code to the job location, you have the option to enter a tax rate.
-
if the tax rate for that postal code exists in your system it will auto-populate in the dropdown menu
-
if the tax rate is not set up for the postal code, you have the option to add a new rate.
-
You can also bypass the address above and search within the Tax rate bar for tax rates.
-
*Insert link to future tax rate override page here
-
-
-
Click ‘Add Datasheet’
Just to note, the only section required to submit a datasheet is the Name, all other fields can be entered and edited later.