Adding Employee Time
There are three ways an installer can add time through the tech app.
Directly to an item
An installer can add a start and end time for an entire crew directly to an item.
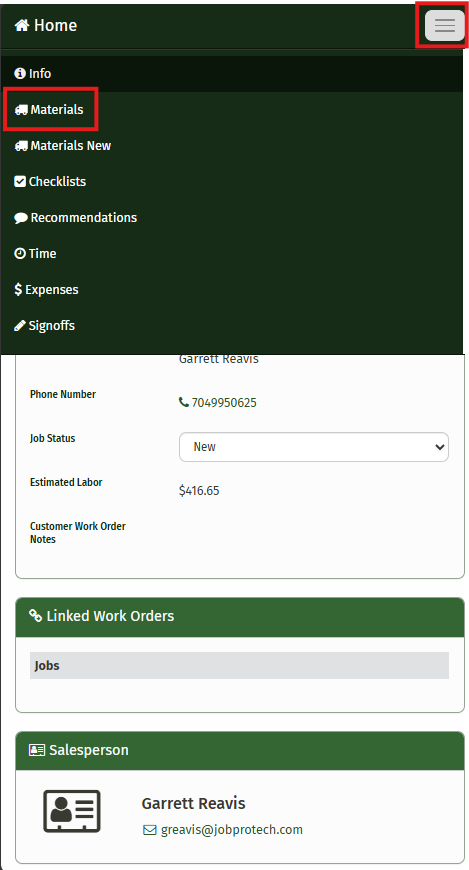
Choose ‘Materials’ from menu, which can be found in the upper right hand corner of the app.
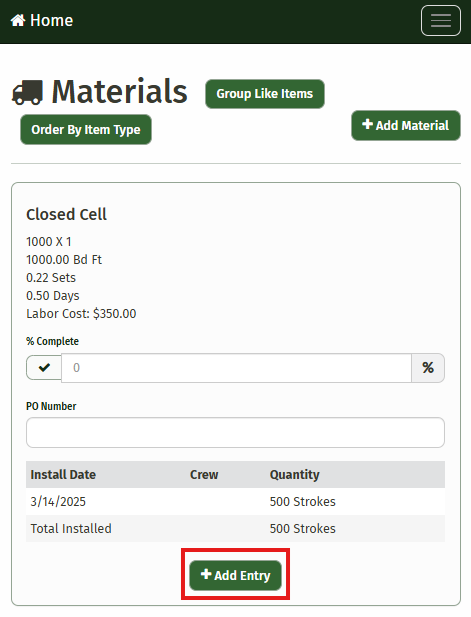
Choose the item they would like to add time to, and click ‘Add Entry’
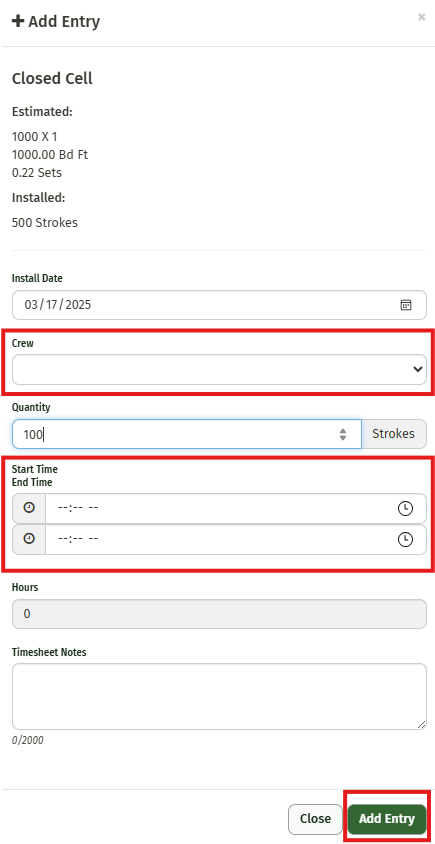
Select the appropriate crew, add their start and end times and then click ‘Add entry’
Clocking in on the job.
An installer can start and stop their time through the tech app.
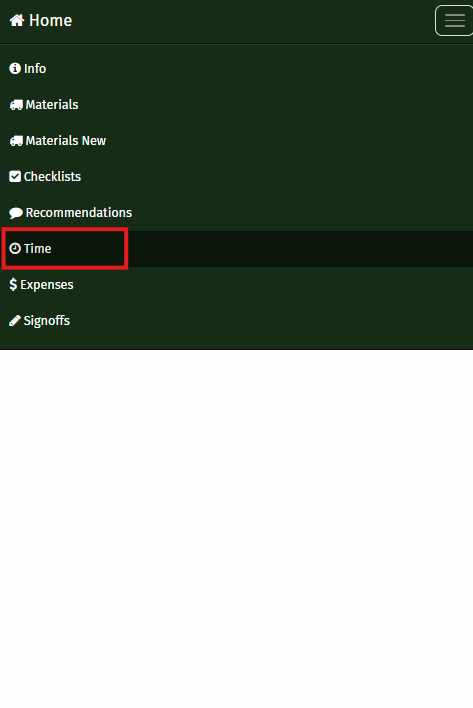
First they will need to choose ‘Time’ from the menu, which can be found in the box with three lines located in the upper right hand side of the app.
Then they can either click ‘Start All’ to start time for any resource scheduled, or they can click the start button next to the name of the resource or resources that need to clock in.
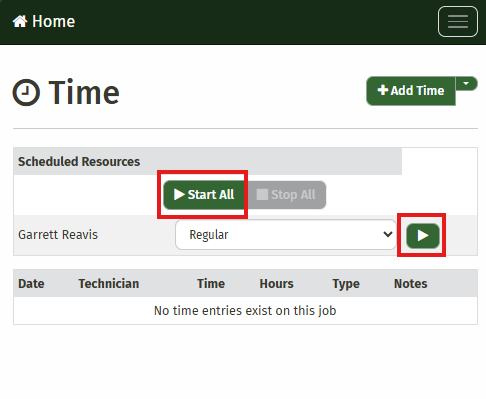
To stop their time, installers will simply need to click the ‘Stop all’ button or the stop symbol next to their name.
Finally, Installers can add Time entries
Through the ‘Time’ menu click ‘Add Time’
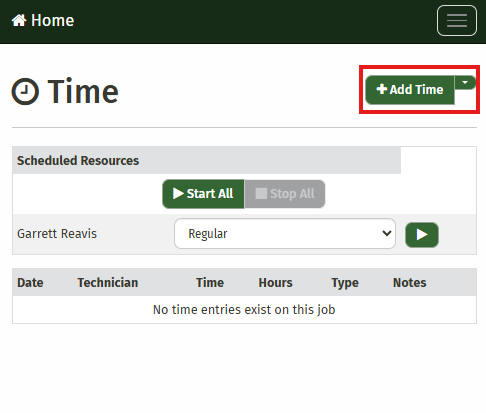
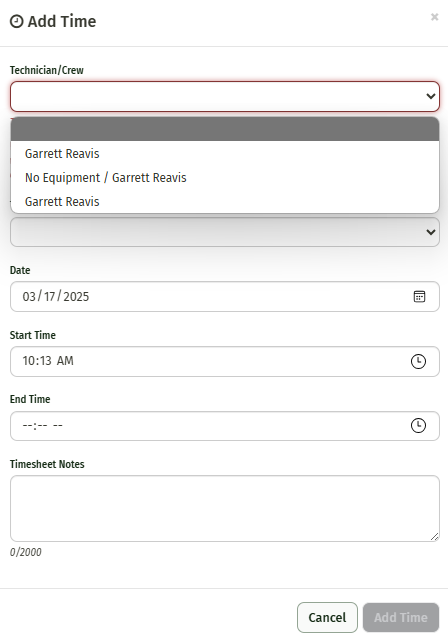
Your employees have the option to choose to add time for the entire crew, or for only one resource at a time. When a crew is chosen, only rate types they share in common will appear in the ‘Type’ dropdown. If there is no type chosen or if they do not share any rates in common, the resource’s default rate type will be applied.
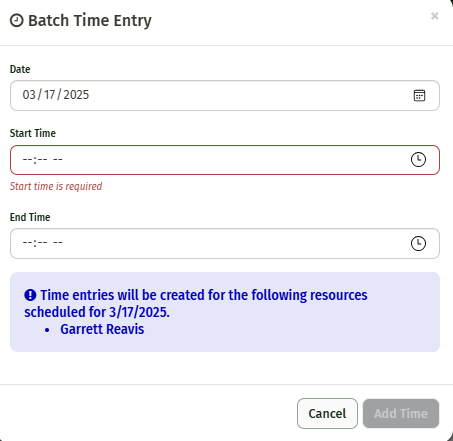
To add multiple time entries (for all resources scheduled for the user’s crew) click the arrow to the right of the ‘Add Time’ button and click the option for multiple entries. Fill out the start and end times for the scheduled resources and click ‘Add Time’

If you need to make edits to the time entry once completed, your resources will have the option to edit each time entry separately. Simply click the pencil icon located to the right of the resource’s time you’d like to edit.
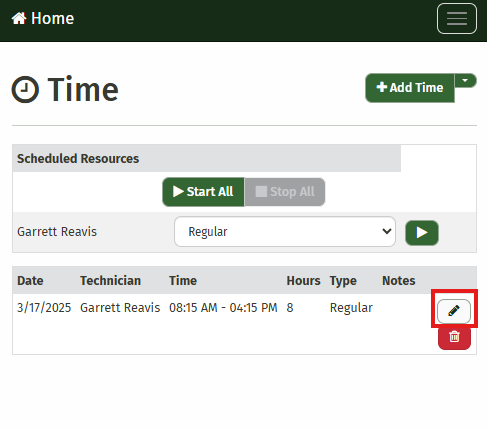
You can also delete a time entry completely by clicking the red trashcan icon also located to the right of the resource’s time.
