
Auto Allocating Material
This guide will show you how to utilize JobPro’s “Auto Allocate Material” feature, which allows you to confirm that you have enough material for the job, as well as create a pick list to auto pick for the job rather than having to manually create a pick list.
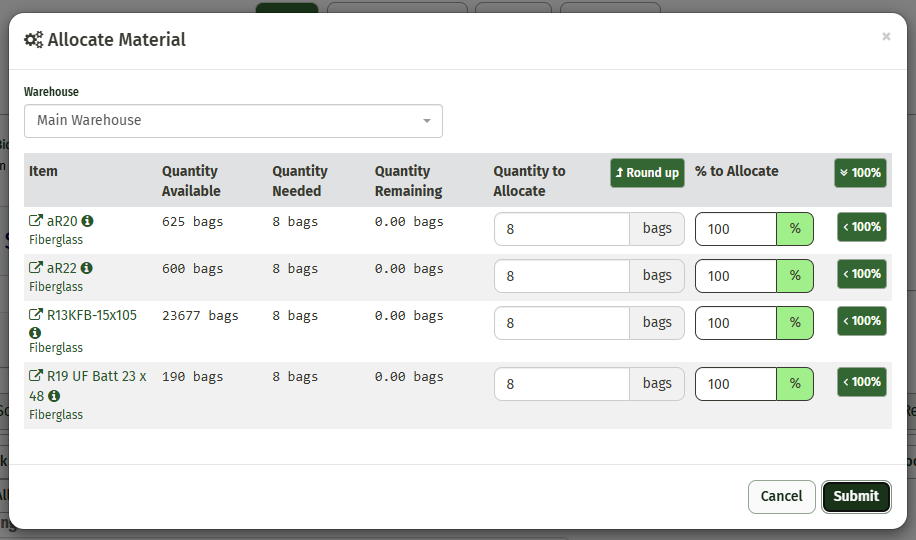
1.) If you navigate to the "Job Processing" tab, you'll see an "Allocate Material" button across the top of the tab near the right that is included with the rest of the other Job Processing functions. Clicking on this button will open a new window where the material that should be able to be allocated to the job will be displayed.

2.) The "Allocate Material" window will provide information for the Item Name, the Quantity Available, the Quantity Needed, the Quantity Remaining, and the Quantity to Allocate.
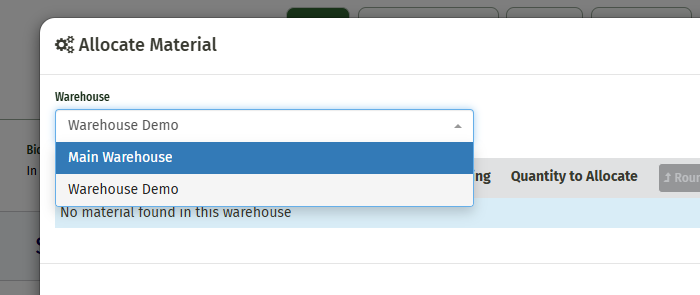
If the selected warehouse does not have any available material associated with the job, no materials will populate and it will say "No material found in this warehouse".

You can select a different warehouse from the Warehouse dropdown above.
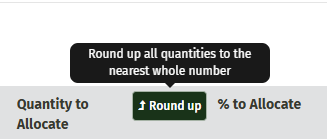
For a warehouse selected that has available material, the "Quantity to Allocate" column will automatically update the amounts needed, and the "Round Up" button is a feature that will adjust any amounts that may include a decimal.
For example, if the estimated amount was 2.5 bags of fiberglass, the Round Up feature will update this allocation to 3.
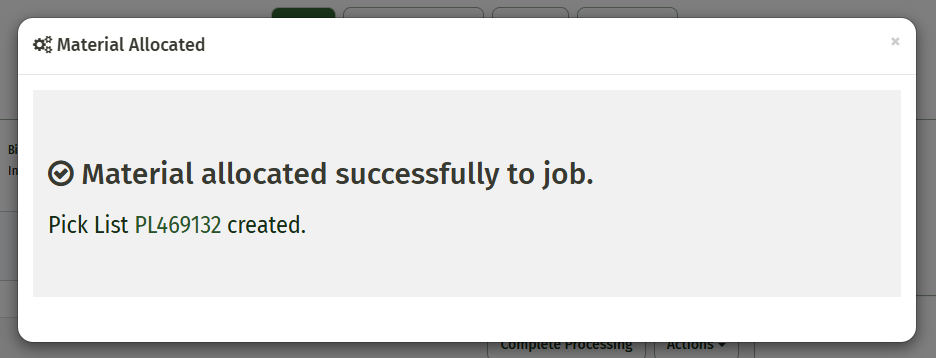
3.) Clicking the "100%" button on the right side of the column will automatically fill out the material to allocated for you, or you can type it in manually. Once all of the material has been allocated, you can click "Submit" and the system will create a Pick List that has been auto-picked for you. The picked material is set aside in warehouse so it cannot be used for another job, and will not leave the warehouse until used on job.
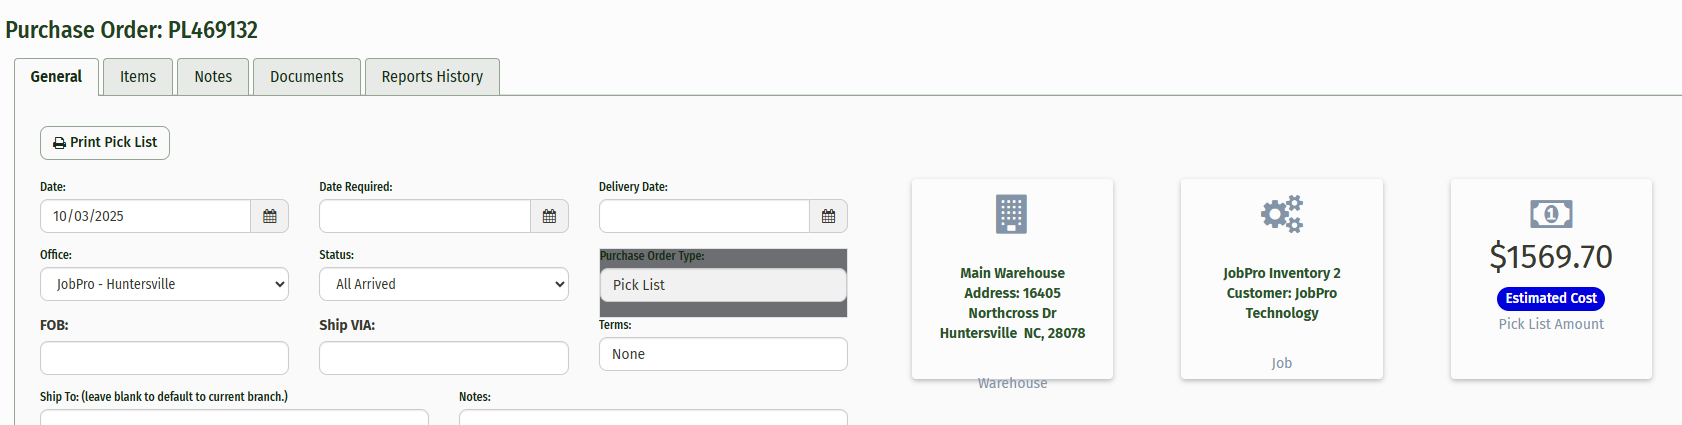
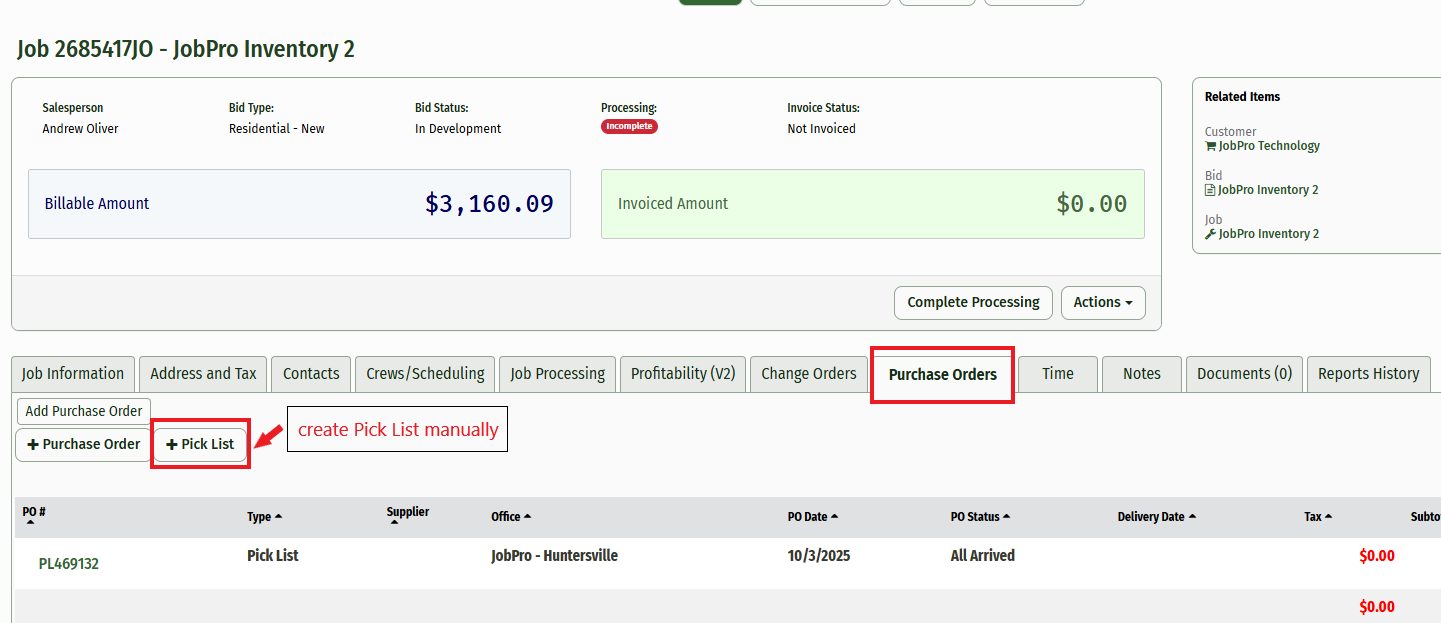
NOTE: Even with this feature enabled, you still have the ability to create a pick list manually. To do this, navigate to the "Purchase Orders" tab and click the "+Pick List" button near the top of the tab. Since the material allocation is automated, there is no longer a "Sourcing" tab on the job page. Any pick list you create will be stored in the "Purchase Orders" tab that you can access later if needed at any time.
How To Video: