
Creating a Job
There are three places to create a job, two are located within a bid
The first is at the top of the bid page.

The second is a smaller button located on the Bid Information Page

After clicking either of these buttons you will be given the option to ‘Create a single Job’ or ‘Split work orders by group/option’. Choose which one suits your situation best and a job will be created accordingly.
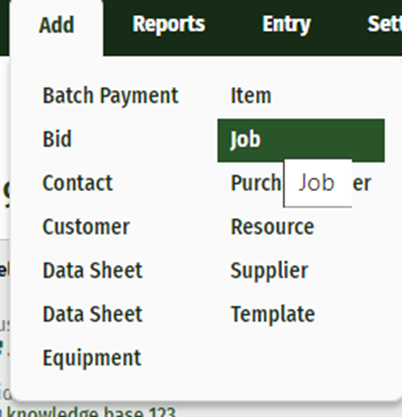
The third location is located on the main menu
Select ‘Add’ and from the main menu and then click ‘Job’
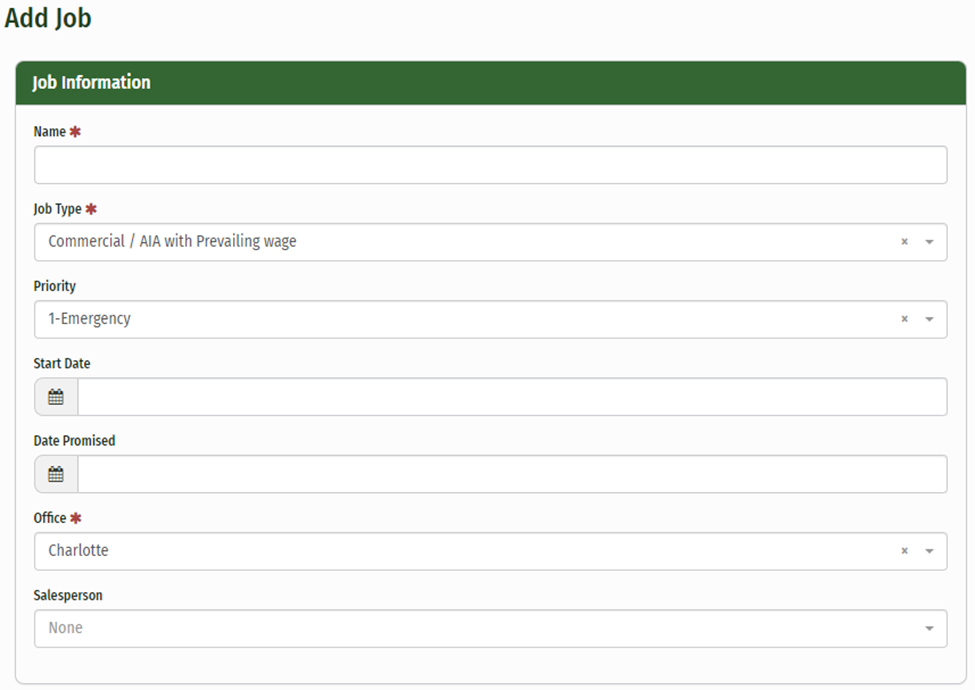
Fill out the Job Information
The job Name should be unique to each individual entry. An example of this is by listing the name of the job and the address, i.e. Smith, John--123 Second Street. If you enter a Job Name that has already been entered, it will auto-populate an error letting you know this job already exists
Select the ‘Job Type’ from the drop-down list.
Enter ‘Start Date’ by clicking the calendar icon and choosing a date on the calendar
Enter a ‘Date Promised’ by clicking the calendar icon and choosing a date on the calendar
Select which office the job will be tracked by
Select the primary salesperson in charge
If the customer already exists in your database, just start typing the customer name and it will begin to auto-populate the information. If they do not already exist, you can fill in the new customer form and enter their contact information
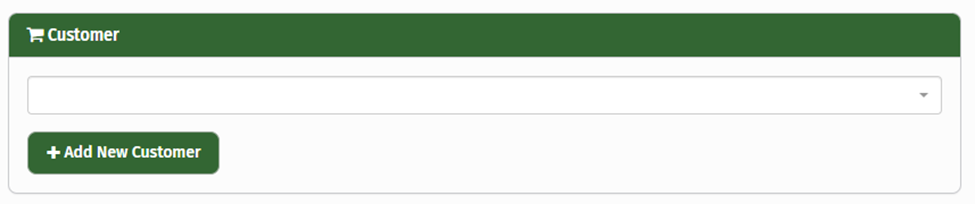
Click ‘Add Job’