
Edit Customers
The Customer Page has twelve tabs that display information connected to your customer.
Main
This tab allows you to:
Change Customer Name
This allows you to edit and change your customer’s name.
Set Status, Preferred Payment Method, Tax Status, Category, Assigned to/Salesperson, Office, and Next Call Date, Add Account #, Company contact info, etc.
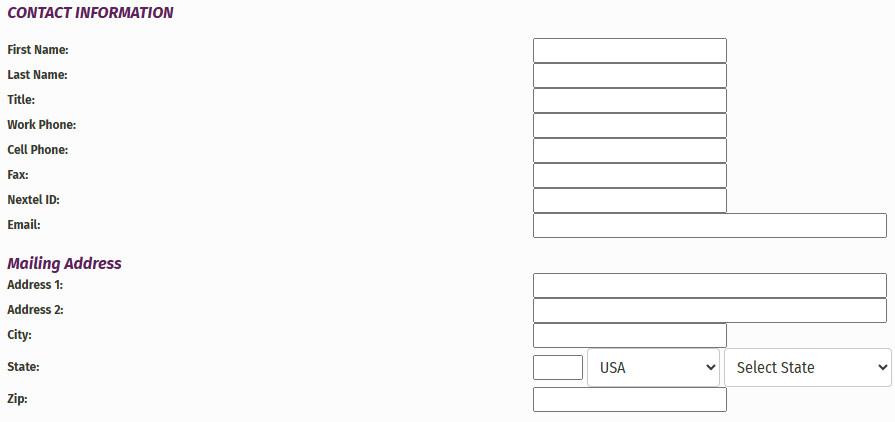
Address
This tab allows you to update the Customer address.
Contacts
This tab allows you to add any contacts for this customer.
Simply click ‘Add Contact’ and you will be taken to a new window where you can add your new contact information.
Once you have your information entered, click ‘Submit’
Appointments
Within this tab you have the ability to add appointments. This can be anything like a meeting or planned dates to visit the job site. These appointments will display in your appointments calendar.
Invoices/Payments
This tab displays a list of Invoices and Payments that have been connected to this customer.
You have the option to ‘Add Payment’, export a ‘Customer Statement’, or export a ‘Customer Job Balance Report’ through this tab.
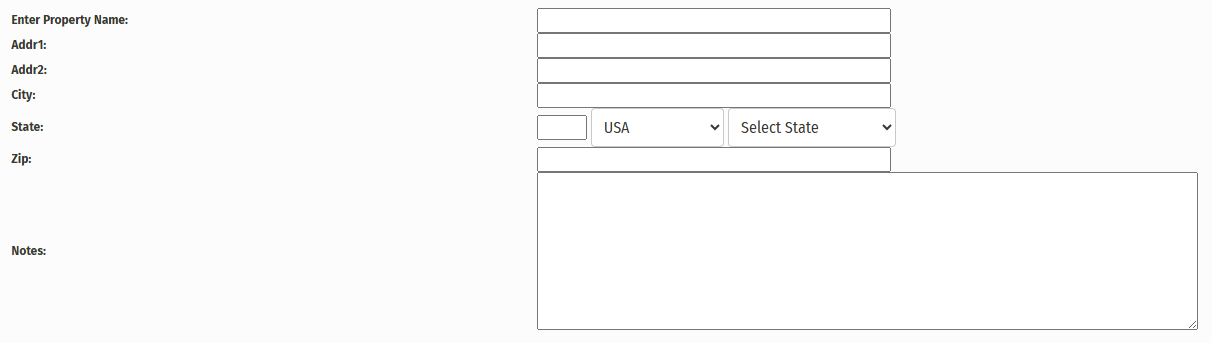
Properties
This tab displays any Properties connected to this customer.
To add a new Property click ‘Add Property’
This will take you to a new window where you can enter the new Property information
Once you are finished adding your information, click ‘Submit’
Jobs
This tab displays any Job that is connected to this customer
To view a job, simply click ‘View’
Bids
This tab displays any Bids connected to this customer.
To view a Bid simply click the ‘Bid Name’
Data Sheets
This tab displays any Data Sheets that have been entered and connected to this customer.
To view a Data Sheet click the ‘Name’
Notes
Any notes you have added to the job will appear in this tab
You can also add new notes here by entering your note in the text box and clicking ‘Add Note’

Once a note has been added it CANNOT be deleted
if a note has been added, the ‘notes’ tab will be highlighted yellow
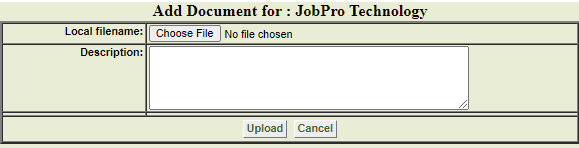
Documents
Displays all documents that have been uploaded for this Customer.
Click ‘Add Document’ to upload a saved file.
Once your file has been chosen you have the option to add a description in the textbox to describe the file.
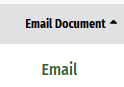
You can also email any uploaded documents by clicking the ‘Email’ button next to the document you’d like to send
If you need to remove a document, simply click the red X to the right of the document you’d like to remove.

Reports History
Contains any report that has been created for this Customer
Within this tab you have the option to either print the results by clicking the ‘Print’ button, or export the results into an Excel workbook by clicking ‘Excel’
When you are finished editing the Customer, be sure to click ‘Save’ or ‘Save and Return’ to save your work.