
Editing a Purchase Order
Once you have added your new purchase order, you are now ready to edit all the important information related to it. On the Purchase Order page, there are five tabs that allow you to edit/add information.
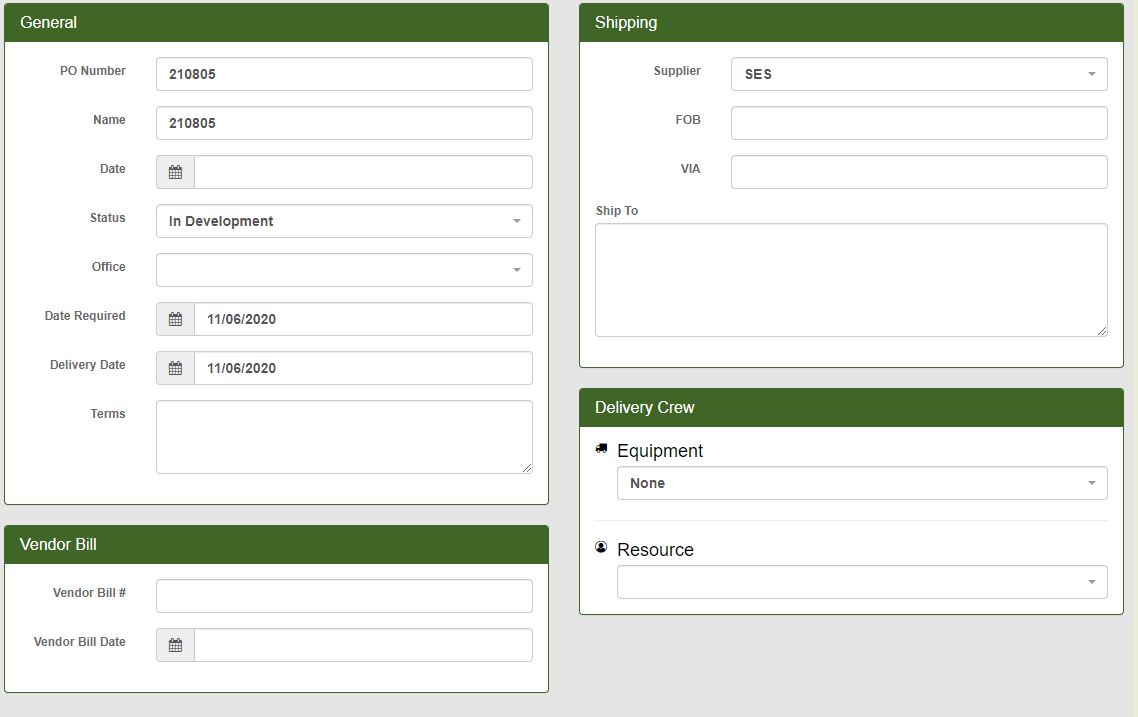
General--within this tab there are four information fields that contain general information about the PO.
‘General’
PO Number--which auto-generates when the PO is created
Name--auto-populates to the PO Number, but you have the option to change it to whatever suits your needs
Date
Status
Office--If you have more than once office within your company, this field is where you would choose the office this PO is assigned to.
Date Required--This field will auto-populate with whatever was filled in before the PO was created. If a date was not entered, you can enter a date now.
Delivery Date--This is when you will be expecting delivery, putting a date here will schedule this PO on the JobPro Scheduler.
Terms--This field will auto-populate with whatever was filled in before the PO was created. If nothing was filled in, you have the option to fill in the terms now.
‘Shipping’
The Supplier, FOB, and VIA fields will have the information filled in before the PO was created. If the FOB or VIA fields were not filled in, you have the option to fill them out now
Ship to--Here you can fill in the ship to address
‘Vendor Bill'--contains the vendor bill# and bill date
'Delivery Crew'-- If you have a designated delivery crew, you can choose the equipment and resources here.
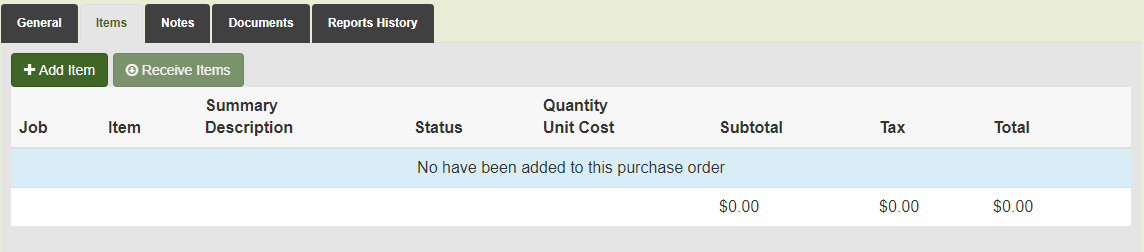
Items--this tab contains the items you will be adding to your purchase order
To add items to the PO, click ‘Add Item’
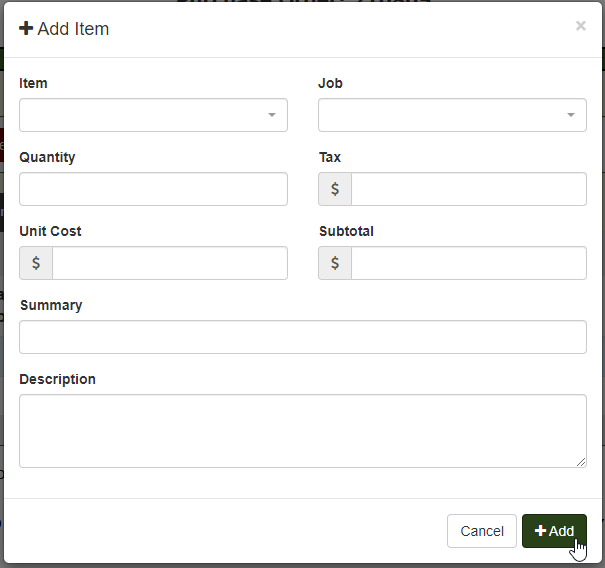
A new window will appear that contains the Item details. Fill in the necessary information and click ‘Add’ to finish adding the item to the Purchase order.
The ‘Item’ and ‘Job’ fields are dropdown menus. Simply click in the box and begin typing the item or job you are looking for and it will auto-populate in the dropdown menu. Once you’ve found what you are looking for, simply click the name and it will populate into the field you are in.
You can add as many items as you would like to the PO by repeating this process as many times as you’d like.
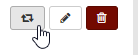
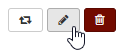
Once an Item has been added you can edit or delete each line.
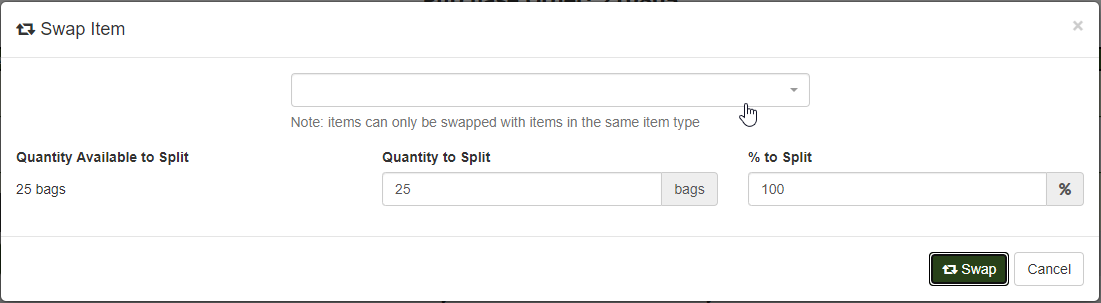
If you chose the wrong item and just need to quickly swap it with an item of the same type there is an option for that. For example if you chose Fiberglass R13 but meant to choose Fiberglass R15, you can click the Swap Item icon to the right of the item and a new window will appear that will let you choose the correct item
In the ‘Swap Item’ window, you have the choice to swap all of the item or a specific quantity/percentage of that item. If you choose to split, it will split your quantities between the existing item and the new item you chose. Once you have finished entering your information click ‘Swap’ to save your changes.
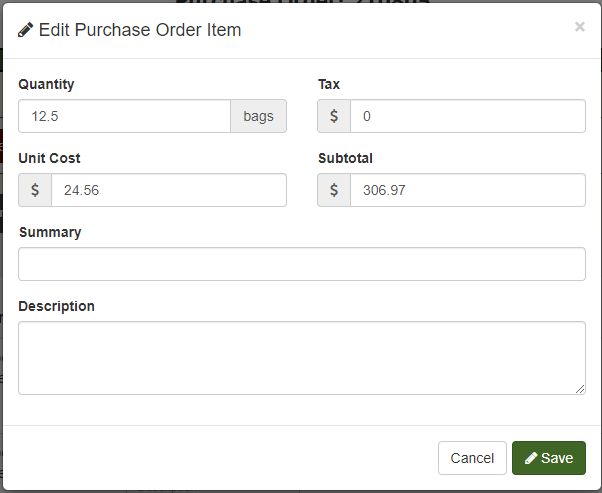
If you need to edit an Item within your PO, click the pencil icon located to the right of the item you wish to edit.
Change any of the necessary information and click ‘Save’ to finish.
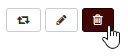
To delete an item from your PO, simply click the red trashcan icon located to the right of your item.
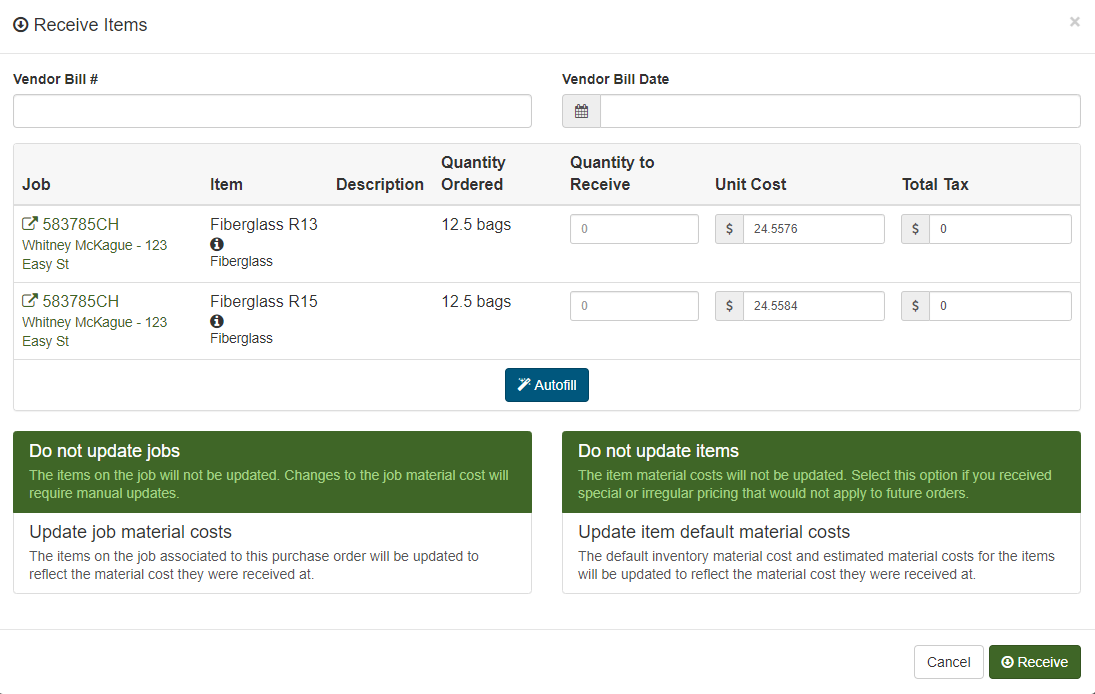
Once your purchase order has been completed, there is an option within the item’s tab to ‘Receive Items’. This allows you to confirm that items were received, correct any quantities if they changed, or add tax.
Simply click the ‘Receive Items’ button and a window will pop-up that will include your PO’s item’s.
Fill out the necessary information and click ‘Receive’ to finish.
Notes--This tab allows you to add any notes relevant to the PO. Simply write you’re note in the text box and click ‘Add Note’
Documents--This tab allows you to upload or scan documents related to the PO. Simply click the ‘Upload Document’ or ‘Scan Document’ to add any document you need.
Reports History-- This tab holds any reports that have been created for the PO.