
Editing a Resources
The resource page has six tabs that allow you to edit various information pertaining to the resource
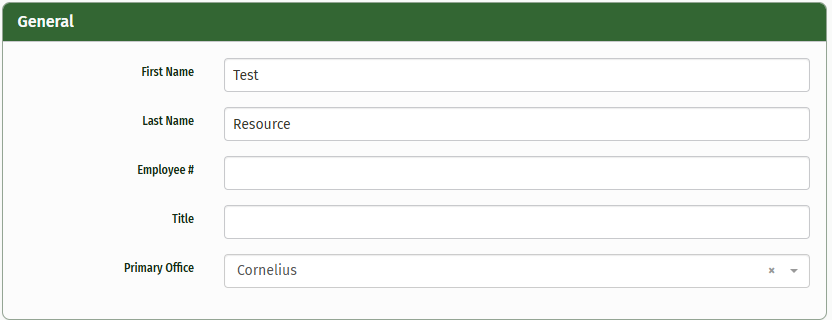
General--this tab contains the resource’s general information like name, contact, address, etc. There are several text boxes within this tab where you can fill out the resources information.
The ‘General’ text box contains:
First/Last Name
NOTE once you have created your resource, do not make changes to their first and last name. This information affects what is shown on reports throughout JobPro and changing a name here will cause issues. If you find that you have made an error here or if a name needs to be changed please contact support
Employee #
Title--i.e. Admin, Installer, Salesman, etc.
Primary office--If you have multiple offices, this is where you will assign the resource to the appropriate location
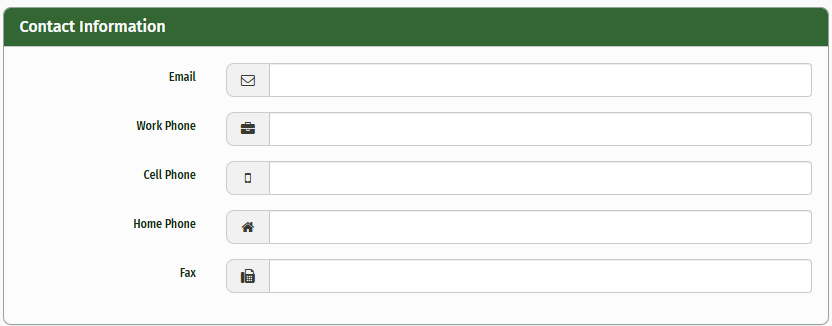
‘Contact Information’--Allows you to fill out any contact information you have for your resource.
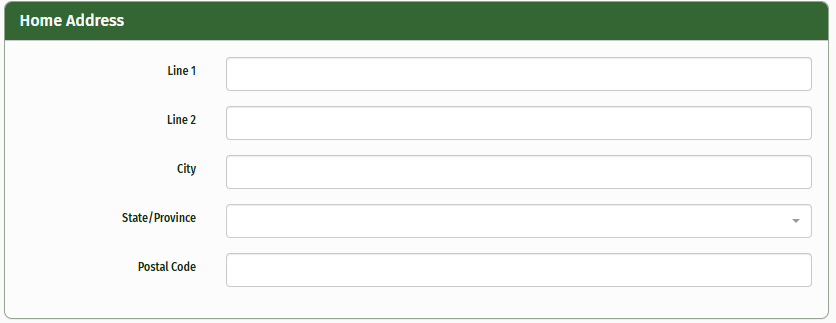
‘Home Address'--You have the option to fill in the resource’s home address
‘Email Signature’--If your resource is an administrative resource there are a couple of places where they can email documents directly from JobPro. The email signature you add here will be included in any email this resource sends through JobPro.
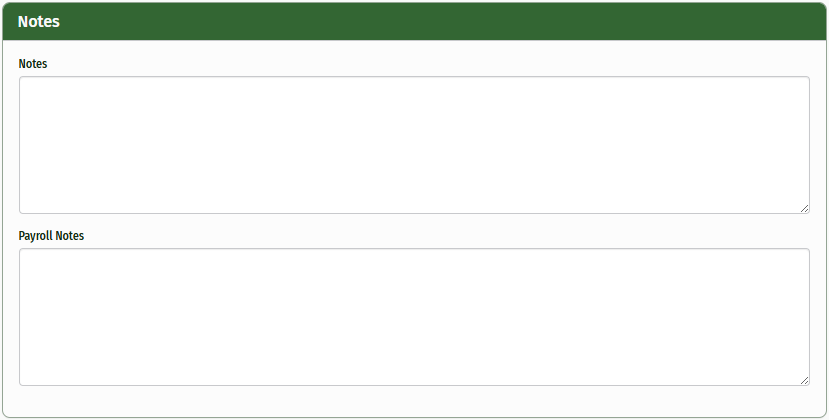
‘Notes’-- Here you can add any notes associated with the resource
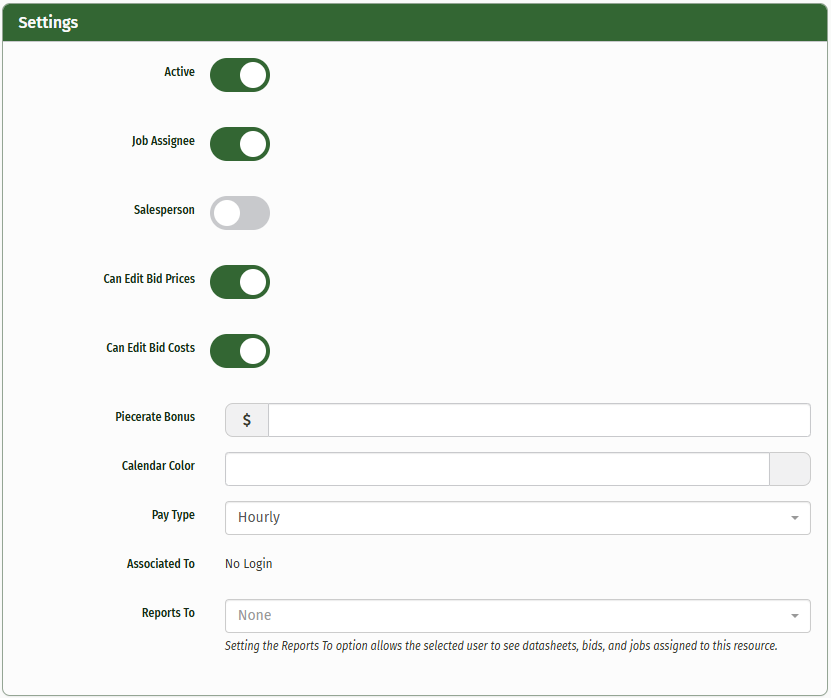
‘Settings’
‘Active’--Allows you to turn a resource on or off. If a resource is inactive they will not show up
‘Job Assignee’--This option determines whether or not the resource can be assigned to a job.
‘Salesperson’--Turn this option on if your resource is a salesperson.
‘Included in Piecerate’
‘Can Edit Bid Prices’
'Piecerate Bonus'-- is a sqft bonus per foot on top of the original piecerate set on the item.
Calendar Color-- this allows you to assign a color to your resource and when they are scheduled on the calendar, their color will appear,
‘Pay Type’--this allows you to assign your resource a pay type i.e. Hourly, Salary, Commission, Subcontractor, or None.
Reports to-- Here you can set the person who your resource reports to. Doing this will allow the resource’s ‘report to’ user to see datasheets, bids, and jobs that are assigned to this resource.
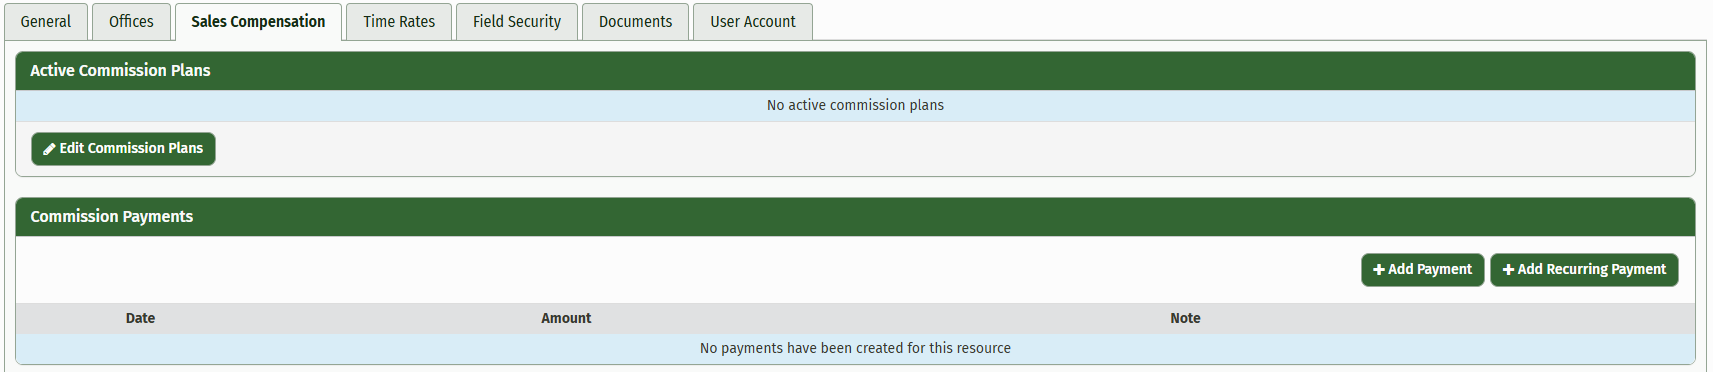
Sales Compensation-- If your resource is a salesperson, this tab allows you to add commission plans, payments and recurring payments.
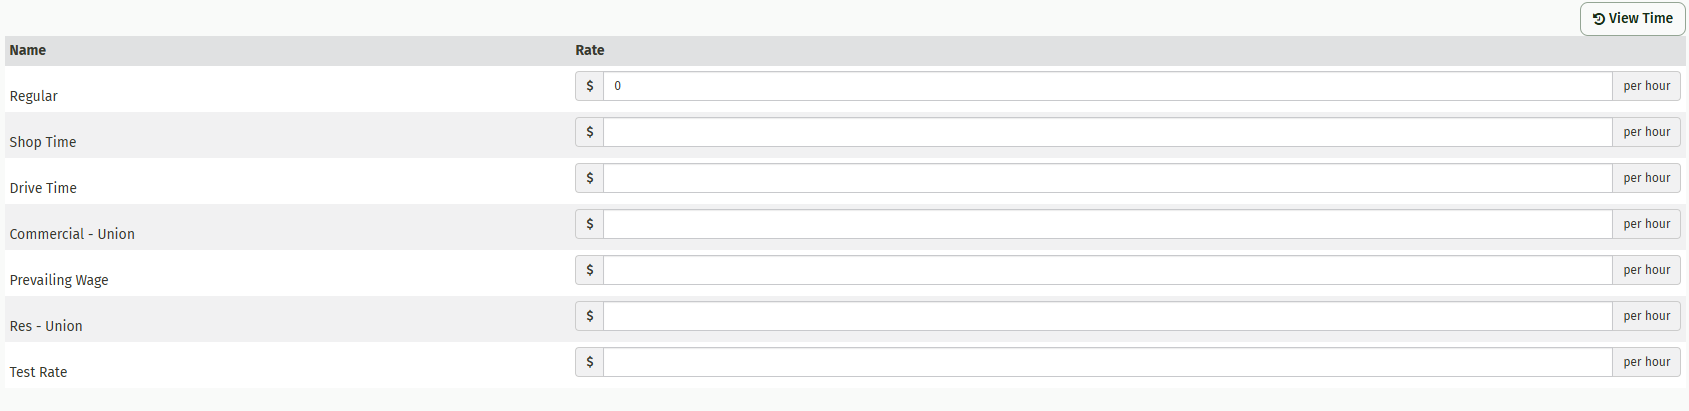
Time Rates--this tab allows you to set up your resources pay. Simply type the rate into the text box to the right of the name of the rate type.
The ‘View Time’ button allows you to look up any time the resource has logged in the system. After clicking, you will be taken to a new page containing the work date, job name, resource name, total hours, rate type, and total pay. These can all be edited and the list can be exported to excel or printed.
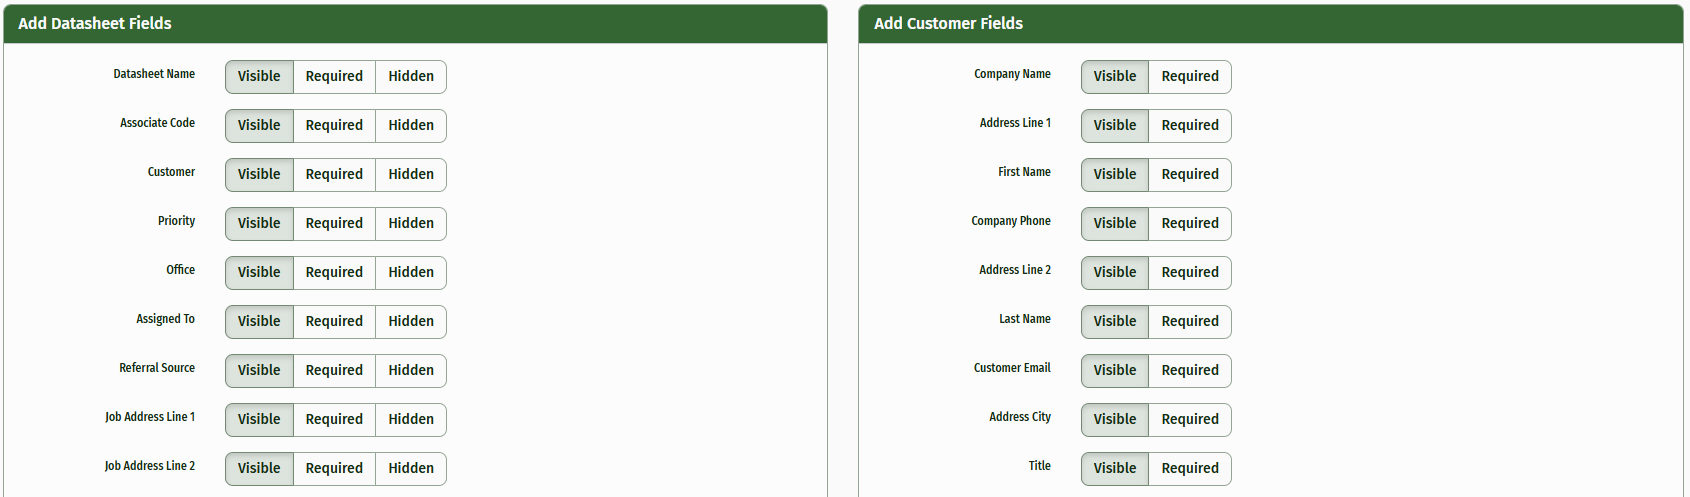
Field Security--this tab allows you to determine what fields are visible, required, or hidden when the resource adds a datasheet or new customer. Simply click which option you would like for each field. If you want the option to show up but not be required, select ‘Visible’. If you want the option to be required select ‘Required’. If you don’t want the option to even show up, select ‘Hidden’.
Documents--This tab allows you to upload or scan documents related to the resource.
