Job Processing
This is a guide on how to enter materials/time for crews on a job and have that information pull onto a payroll report. There are two main ways that this information gets added to the job. If your materials and time are being entered by your installers, the best way to achieve this is through the tech app. If this is being added by an administrator the easier option is to add this information through JobPro on your desktop. After materials/time have been successfully added to your jobs, you will be able to pull a payroll report that displays the details of the installers pay including time and piece-rate.
Before you begin:
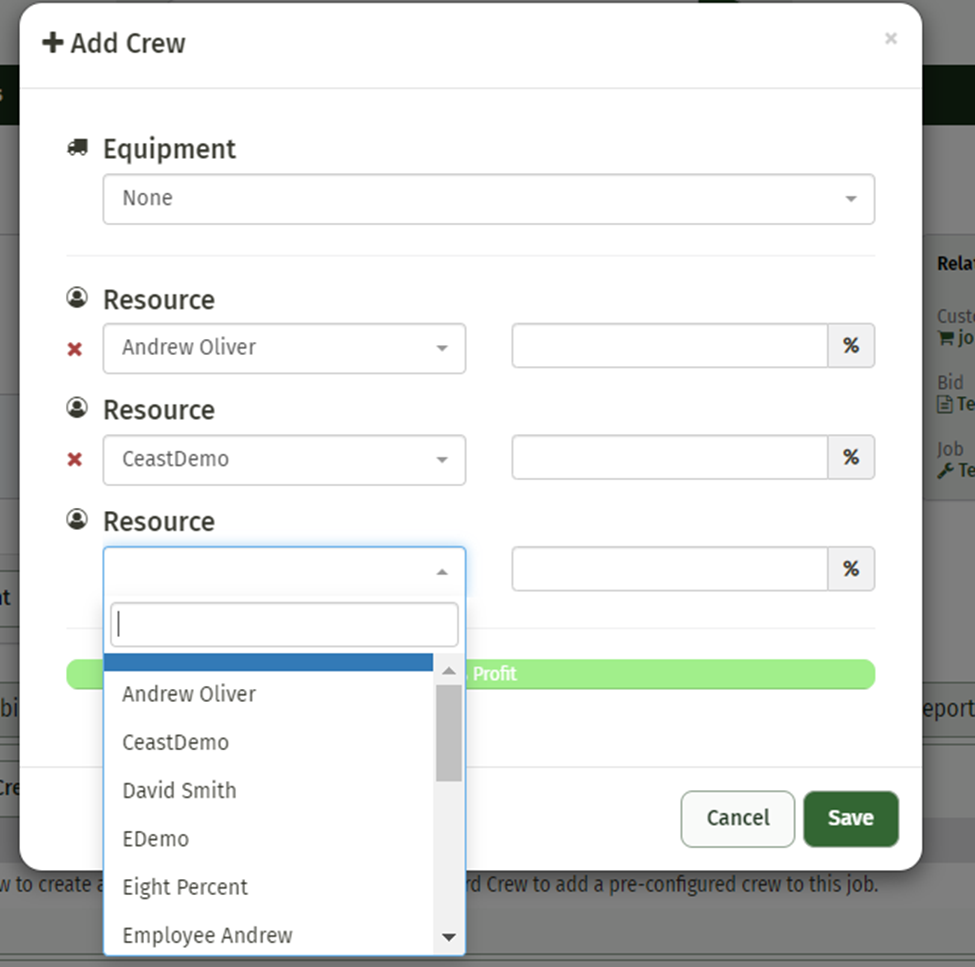
When starting your job processing, you will want to make sure that the crews that need time or piece rate applied to them are scheduled to the job. You can do this by clicking on the ‘Crews/Scheduling’ tab. Any crews that are scheduled to this job will appear here. If the crew you are looking for is not here, add them by clicking the ‘Add Crew’ button.

If your installers are getting piece rate, make sure they have their percentage split applied. This is done by adding their percentage to the resource’s name when adding a crew.
If your installers are adding their materials/time through the tech app, the job must be scheduled on the scheduler. You can do this directly through the job using the ‘Crews/Scheduling’ tab, or you can use the JobPro Scheduler. Scheduling the job is what allows the job to show up on the tech app.
If you are adding material on the same day you are planning on pulling a payroll report, you must click the ‘Profitability’ tab once you are finished entering and saving your information on a job. This is what will pull the resources information to the payroll report. This is a process that the JobPro system runs overnight, any entries made the same day need to be ‘forced’ in by clicking this ‘Profitability’ tab and letting it load.
Using the Desktop
Adding Time
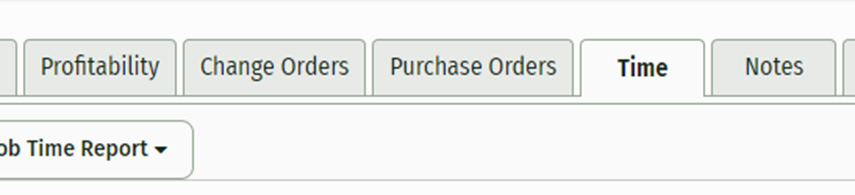
To begin adding time, you will need to navigate to the ‘Time’ tab on the job page.
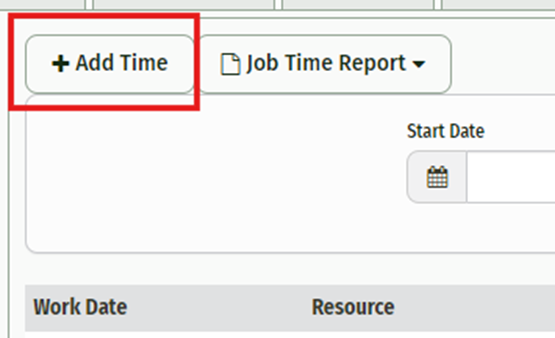
Click the ‘Add Time’ button, this will bring you to the Time Entry page.
Now that you are on this page you can add the work date, amount of hours worked, time rate, item time will be applied to (*if applicable), and any notes you’d like to add. You can add time to the crew as a whole, or to each resource individually. Crews and resources that have been scheduled to the job will automatically appear on this page.
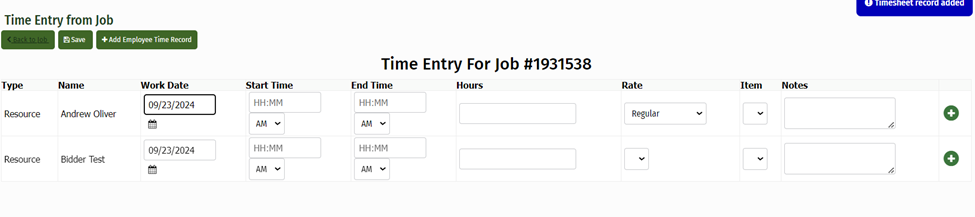
After you have made your entries click ‘Save’

If you need to add a time record for a resource that was not scheduled to the job, you can add them by clicking the ‘Add Employee Time Record’ button and selecting the resource’s name from the dropdown menu. This will app them to the Time Entry page and allow you to add their time just like above.

If you need to add multiple days for resources simply click the green arrow to the right of the resource or crew you’d like to add another time entry for.

Once you’ve added your time and clicked save, you will be able to view each resource’s time in detail on the job in the ‘Time’ tab.
Adding Material
To begin adding material to a job you will need to navigate to the ‘Job Processing’ tab on the job you are editing.

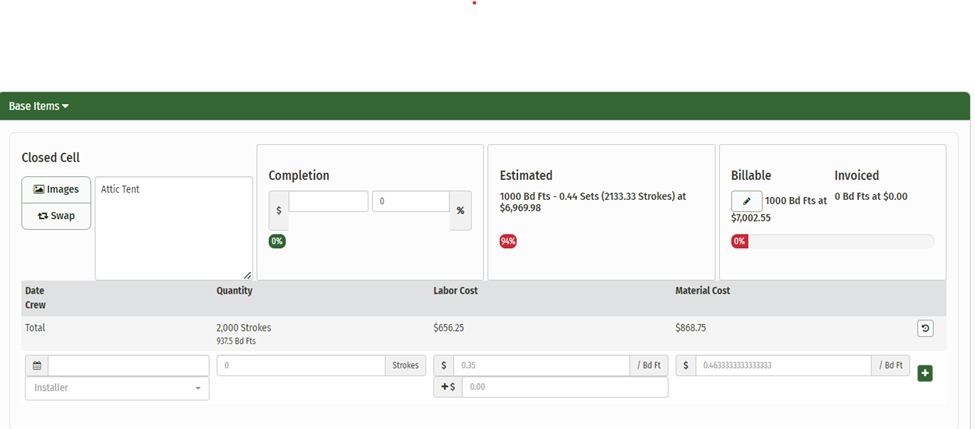
Now you will need to work through the job item by item. Choose the item you need to add material to and enter the following information:
Enter Date of Install
Crew responsible for install
amount of material used
Click the green plus sign to add the material for this item to the job.
Once you’ve clicked the green plus sign, you’re entry is not fully saved. You will also need to click the ‘Save’ button on the top of the job page to fully save your work.

Repeat this process for each item on the job. We realize that jobs are not always completed in a day or even over the course of a week. You can add as many entries for as many crews/days as needed for each of these items.
A total of all material entries is displayed on the item. If you would like to see/edit an individual entry simply click the ‘Show History’ button above the green plus sign. This will reveal all entries made on that specific item.

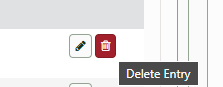
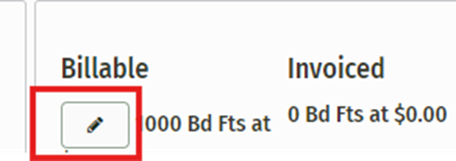
To edit an entry simply click the pencil button located to the right of the entry you’d like to edit.
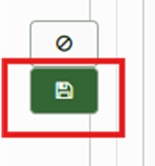
Edit any necessary information and click the green save button on the right.
If you need to delete an entry all together, simply click the red trashcan to the right of the entry you want to delete.