Job Statuses
Job Statuses allow you to customize your workflow in JobPro. You have the option to create custom statuses for each stage of work. The statuses typically follow the progress of a job from creation to completion.
To begin adding new Job Statuses, navigate to the System Configuration page through the ‘Settings’ dropdown on the main menu.
Click the ‘Job Statuses’ button on the left side of the page.
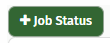
If you have any Job Statuses already set up, this is where they are stored. To add a new Status, click the green ‘+Job Status’ button
A pop-up window will appear where you can add the name of your new status. Be sure to choose something unique, you cannot have multiple Job Statuses with the same name.
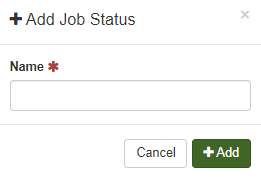
Click ‘+Add’ to save.
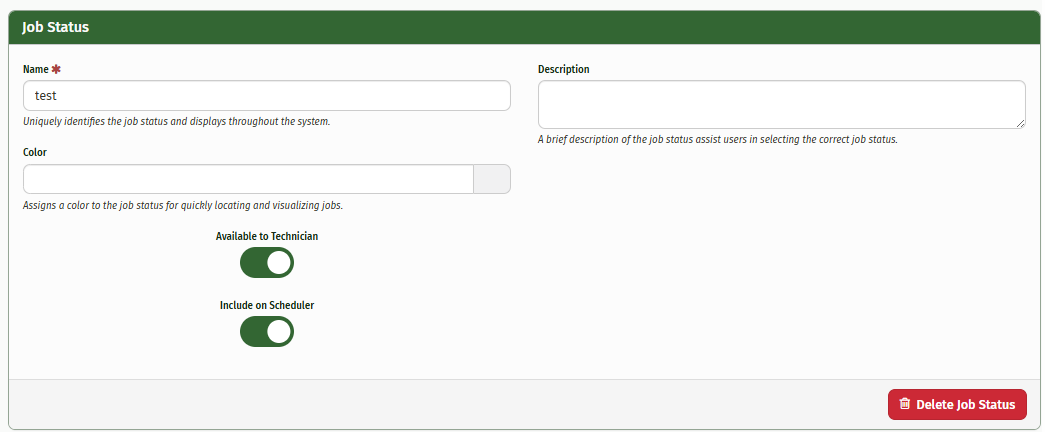
Once you have added your new Job Status, you will have the options to edit the details of this Status.
You may choose to add a description in the ‘Description’ field that can assist your users in selecting the correct job status.
The ‘Color’ field allows you to assign a color to each Status so that you can quickly locate and visualize your jobs.
The status can be made available to technicians so that they can set the job status through the Tech App.
The Status can also be either included or not on the JobPro Scheduler
If you need to delete the status, simply click the ‘Delete Job Status’ button
Job Statuses can be edited by clicking the name of the status you’d like to edit. From here you can edit any information within that Job Status field.
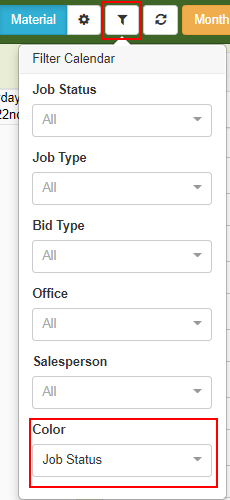
Job Status colors can be displayed through the JobPro Scheduler. To change your Scheduler to reflect the Job Status color click on the filter icon at the top of the page and choose ‘Job Status’ from the color dropdown.