
The Quick Jobs entry allows you to create a job and invoice it immediately. This is useful if customers visit your showroom or warehouse and buy products directly. Quick Jobs can be viewed as a Point of Sale system that allow you to simply pick what items are being purchased and generate an invoice/receipt.
-
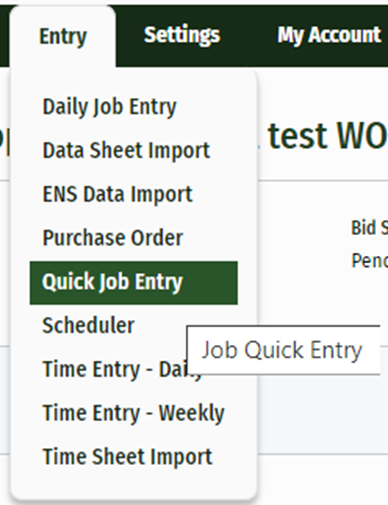
Begin by navigating to the ‘Entry’ dropdown on the main menu and click ‘Quick Job Entry’
-
JobPro will open a new tab for the Quick Job Entry, and once the page loads, you will see three separate sections: ‘Office and Customer Information’, ‘Job Information’, and ‘Items’. Fill out the given fields from top to bottom. Everything with a red asterisk ( * ) is a required field.
-
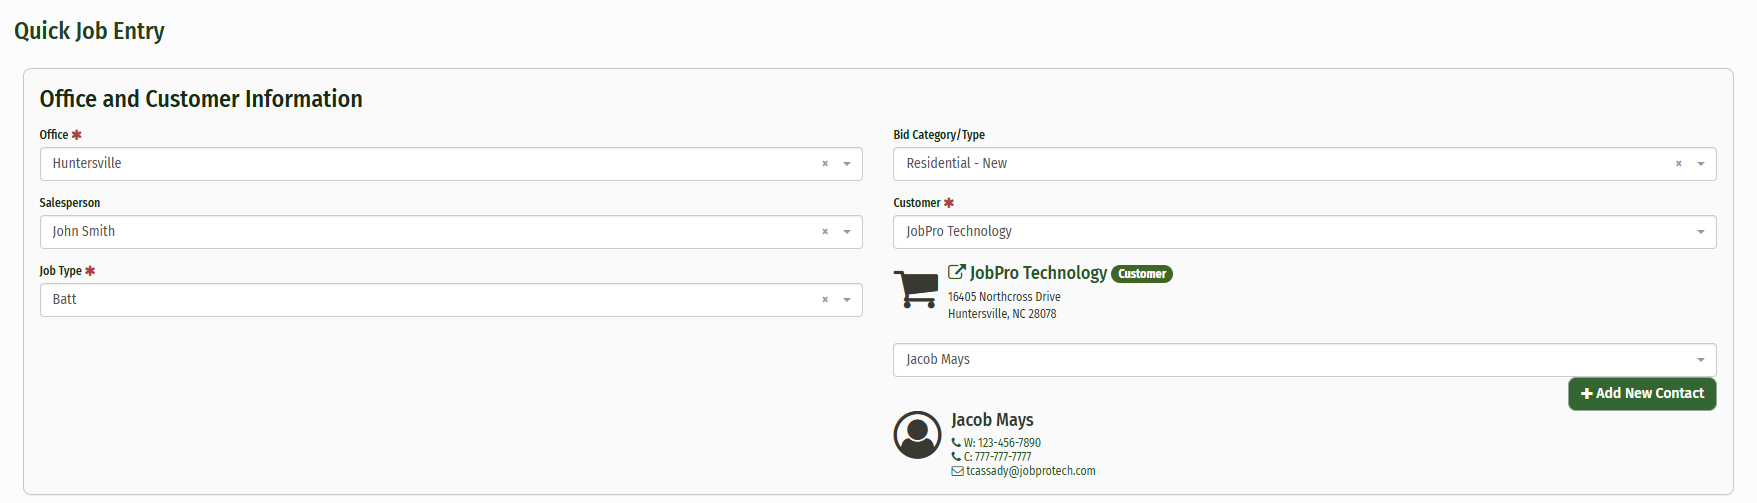
Fill out Office and Customer Information section
-
Select the Office that you want the job created from using the dropdown. If your organization only has one office, that office will automatically populate in the field.
-
Select the Salesperson you would like assigned to the job from the given dropdown.
-
Choose the Job Type from the next dropdown.
-
On the right hand side of this section, choose the Bid Category/Type from the given dropdown.
-
Finally, choose the Customer for this job by typing in their name in the Customer field, or add a new customer by click the “Add New Customer” button and entering the necessary information. Any existing contacts associated with the chosen customer will automatically populate below.
-
-
Fill out the Job Information section
-
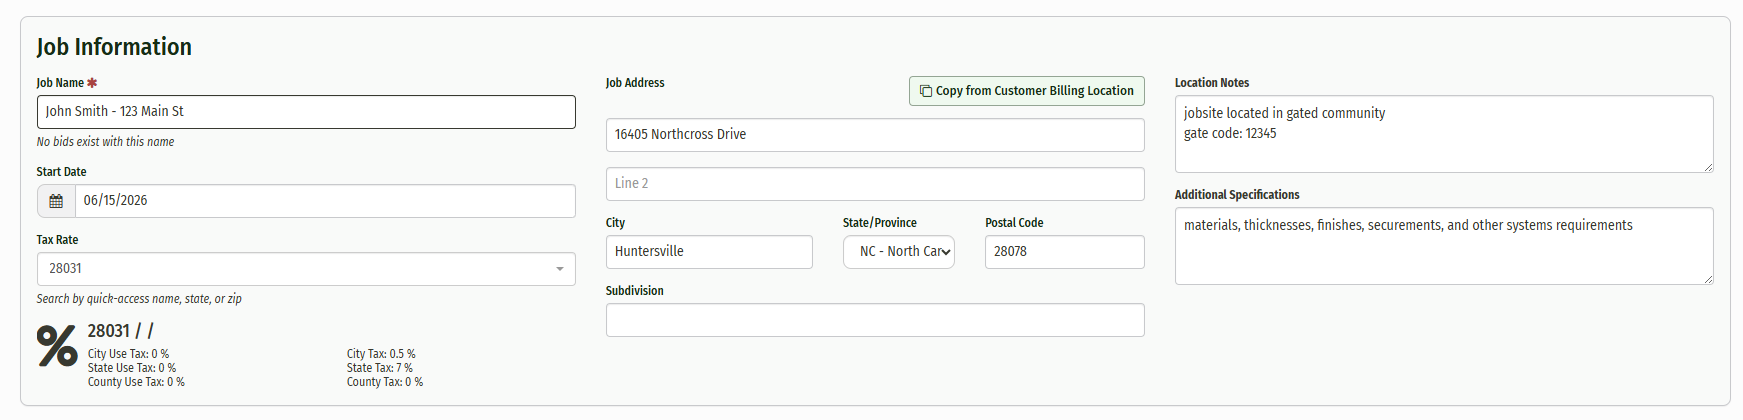
Enter the Job Name in the given field, making sure that the name is unique and does not already exist in the system. You will see a message in red below the field stating “Name already exists” if the name already exists, and JobPro will not allow you to create the job with the duplicated name.
-
Choose a Job Start Date in the field below.
-
If needed, select a Tax Rate from the given field or add a new one by clicking “Add New Tax Schedule”.
-
In the middle of this section, enter the Job Address in the given fields. You can also copy the address from the Customer’s Billing Location.
-
You can include any notes about the job’s location in the Location Notes field or any other Additional Specifications on the right hand side of this section.
-
-
Fill out the Items section
-
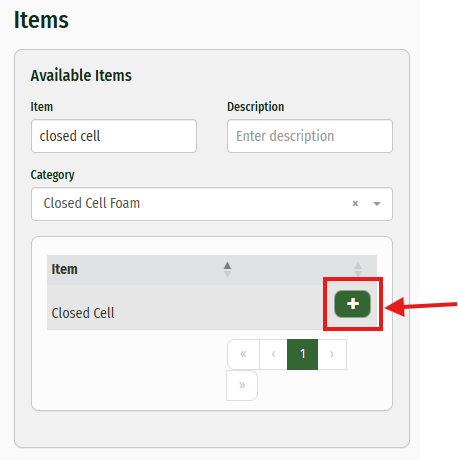
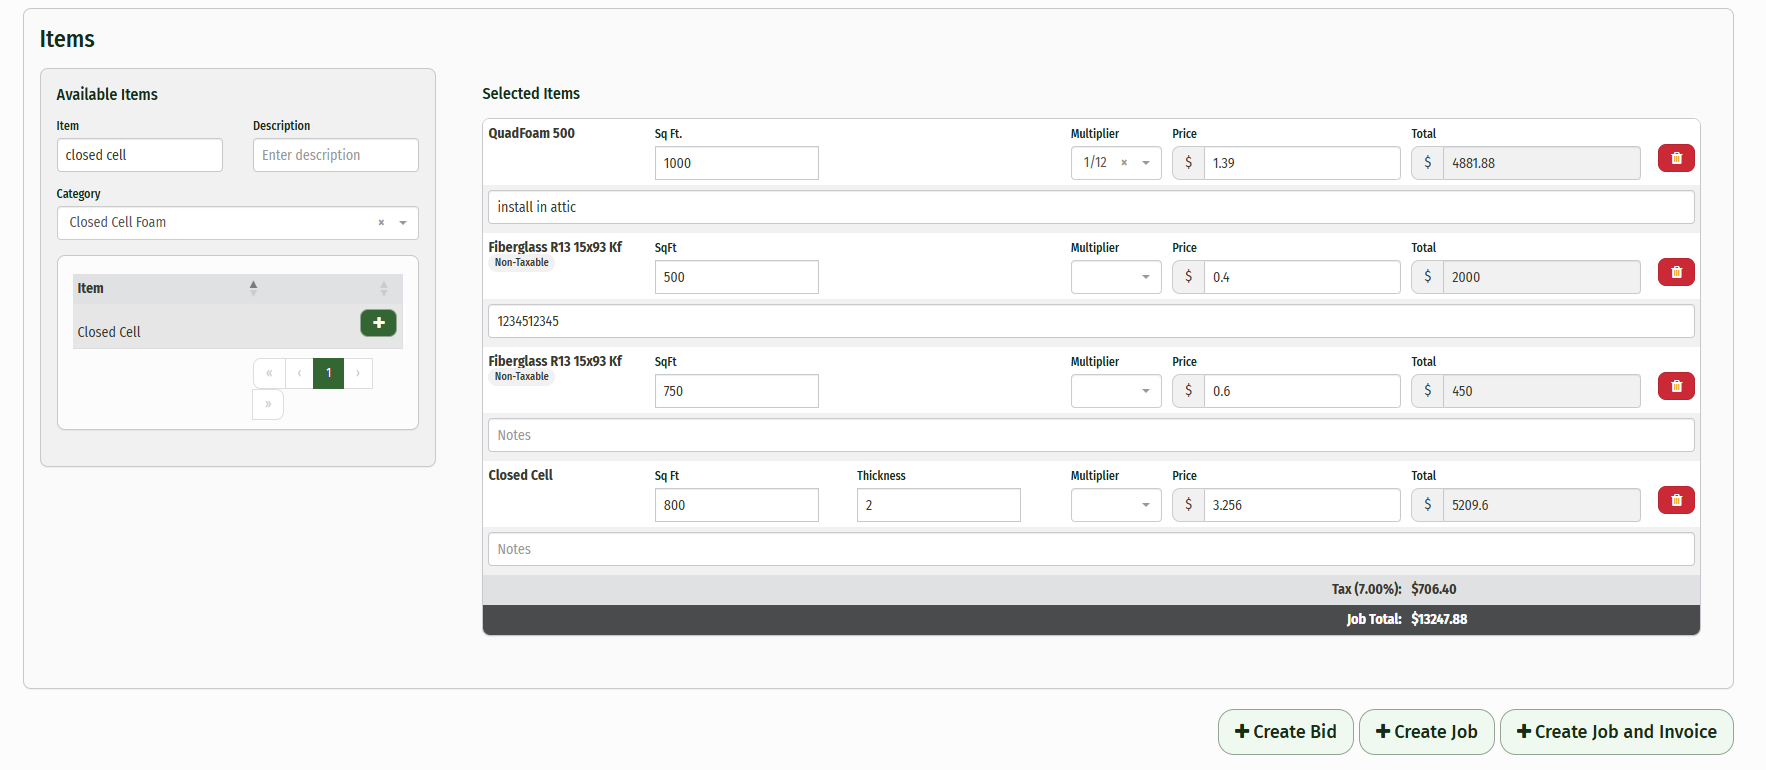
To add an item to the job, click the green plus sign next to the item name on the left side of the section. To narrow down your search to find a specific item, you can type in the item name or description in the search bar or selecting the item category using the “Category” dropdown.
-
As you add items to the job, they will display on the right hand side of the section. Enter in the square footage of each item in the “Sq Ft.” field, and type in any additional notes in the “Notes” field. You can also manually change the price per square foot if needed. Click the red trash can icon to delete the item from the job.

-
Once you have selected all of your items and entered in all of your square footage for each item, the total will display beneath the items at the bottom of the section. Confirm that the total looks correct before the next step.
-
-
Once you have confirmed that all of the fields in the Quick Job Entry look correct, click one of the three buttons at the bottom of the page:
-
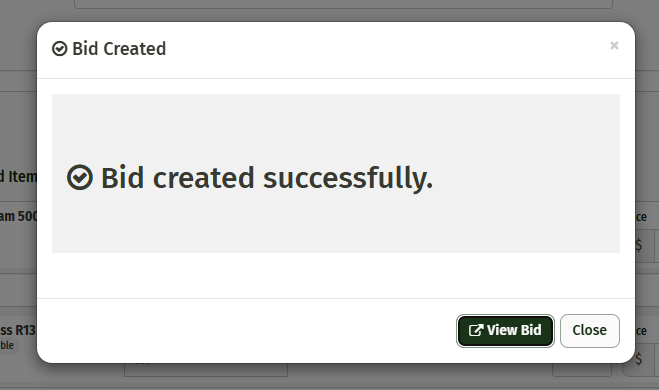
Create Bid: clicking this button will cause the system to convert the entire page into a bid and will give you the option to go straight to the bid page. This is just another method of creating a bid in the system other than clicking “Add” and “Bid”, and will allow you to make further changes to the items and send it to a customer.
-
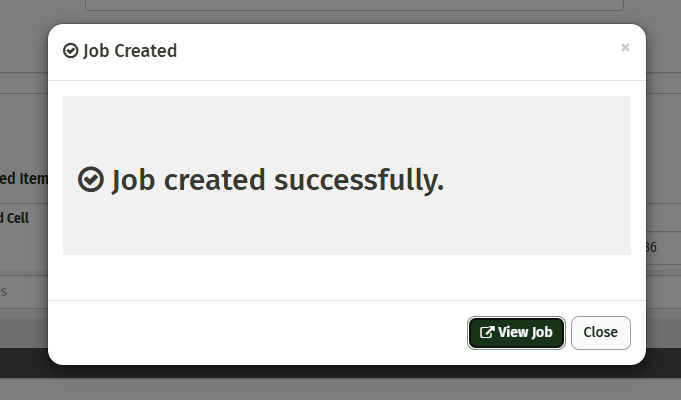
Create Job: clicking this button will convert the page into a job and will give you the option to go straight to the job page. On the job page, you’ll see that the system automatically created a datasheet, bid, and job for the information you entered on the Quick Job Entry. You can schedule the job, make material entries, and invoice as normal.
-
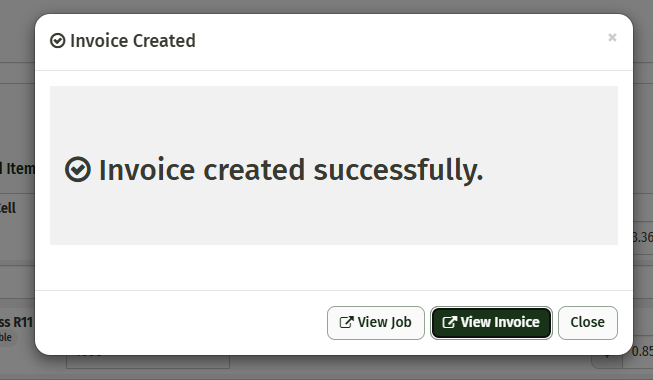
Create Job and Invoice: clicking this button will convert the page into a job, complete processing on the job, and automatically create an invoice for the items on the job for you. You will have the option to view the job and the invoice.
-