
Time Sheet Import
The Time Sheet Import feature allows resources that have been assigned an employee number to have their time imported through an Excel file that has been provided for you. This feature is helpful for users that need to quickly add their resources' time over multiple days and/or multiple jobs. It gives them an easy option for uploading this information on a much larger scale.
The first step you will need to take in order to use this import feature is to make sure that each of your resources has an employee number assigned to them. Simply search for your resource through the search dropdown and navigate to the ‘General’ tab within their resource page.
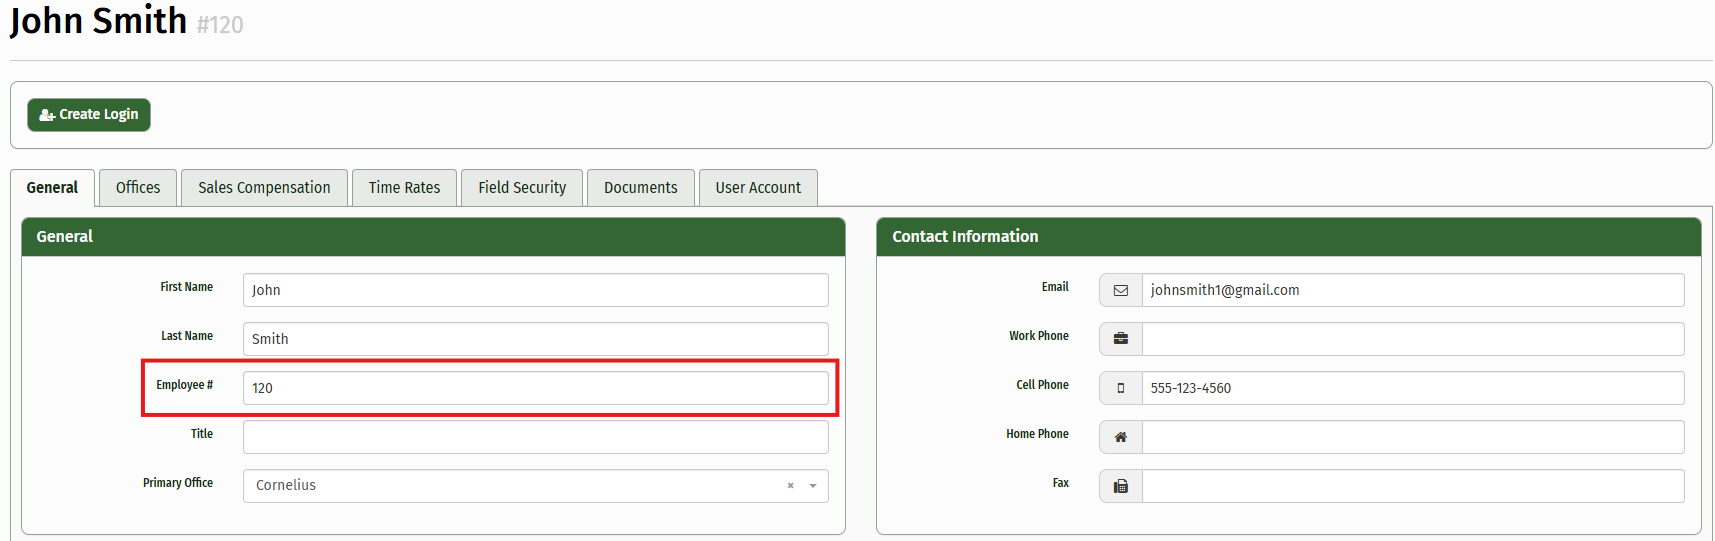
Now that you have found your resource and are in the General tab, you can enter their employee number in the ‘Employee #’ data field. This number needs to be unique to each individual resource in order to import their time properly. It does not matter what number you enter here, as long as it is unique to each individual across your organization.
Now that you have allocated Employee Numbers to all of your resources you can begin the process of importing your time sheets.
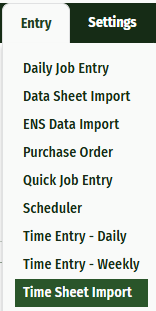
To begin, simply navigate to the ‘Entry’ dropdown and click ‘Time Sheet Import’.
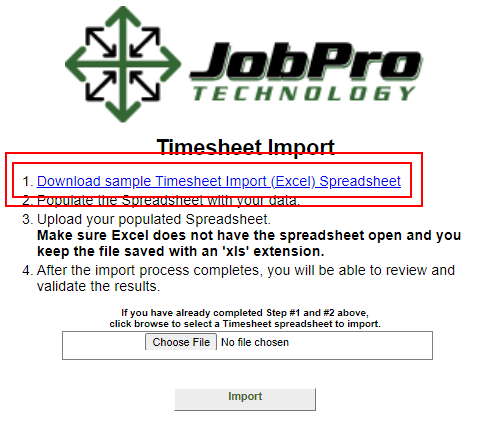
This will open a pop-up window where you will be able to download the Excel file for your data import. Simply click the link labeled ‘Download sample Timesheet Import (Excel) Spreadsheet’ and the file will begin to download on your device.
The Excel file allows you to import data based on the employee number, date, job number, total hours, and rate of pay. Fill out all of the necessary information for your import and save the file.

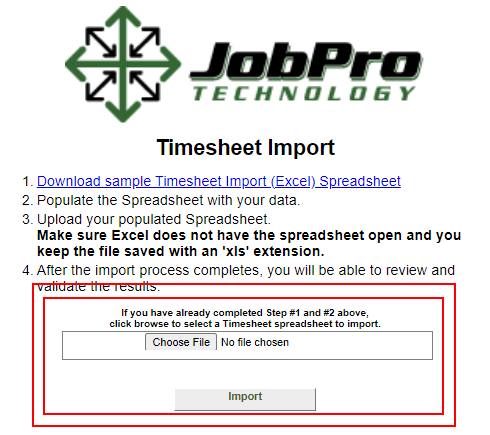
Now you will need to navigate back to the previous pop-up window, choose the file you just saved, and click ‘Import’
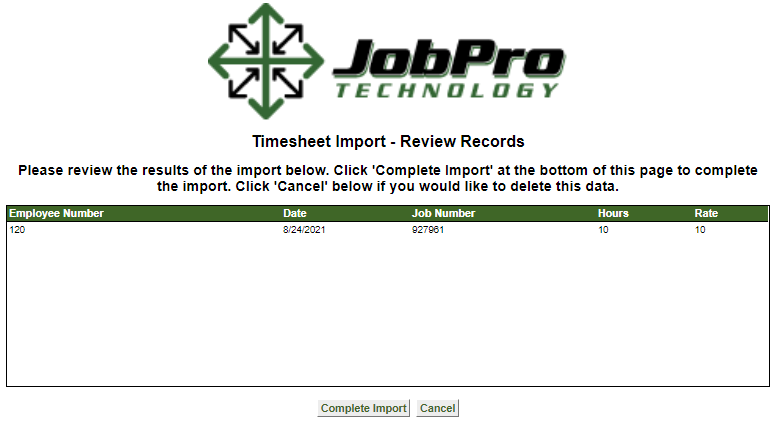
Once the import has been uploaded, a preview of the information will be displayed. If the information looks correct, click the ‘Complete Import’ button. If you see that any of your information needs to be corrected, click Cancel. This will delete your current import, allowing you to correct any mistakes on the excel file and import again.
Once you click Complete Import, you are finished with your Time Sheet Import.