Creating and Using the Inspection Checklist
To use the Inspection Checklist, you will first need to create your list of items for your employees to check.
In the ‘Settings’ dropdown, click on ‘List Manager’

Next, select the list ‘Template Categories’
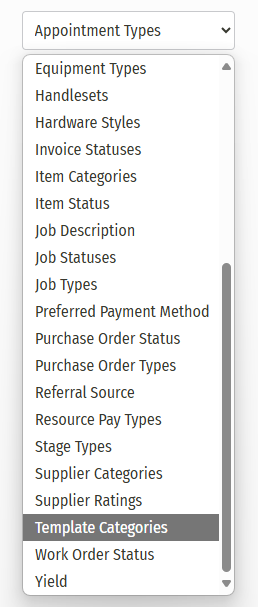
Here, create a template category titled, ‘Inspection Checklist’

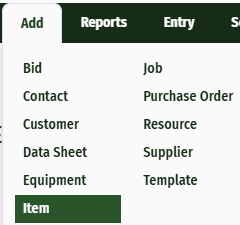
In the ‘Add’ dropdown, select ‘Item’ to create your checklist items. When creating your checklist items, only the name of the item is what is important. You may want to create an Inspection Checklist item category so that you can search for your checklist items quickly and so they will not get confused with your standard items on the bid worksheet.
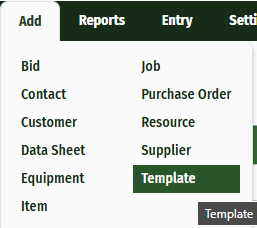
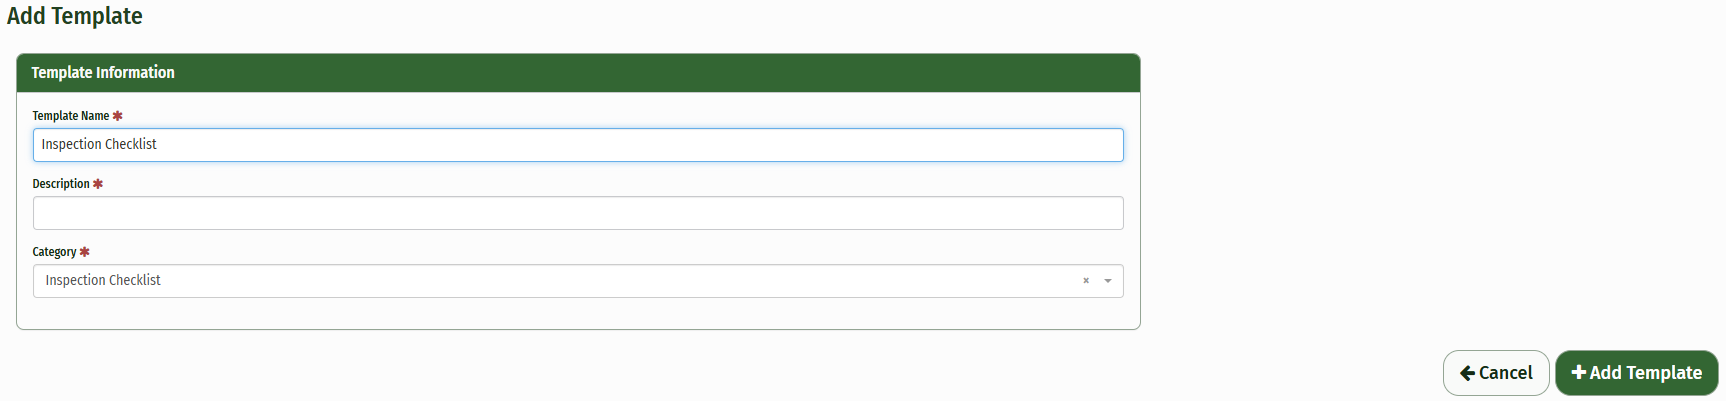
In the ‘Add’ dropdown, select template to create your inspection checklist.
Name the template whatever you would like to name the checklist. You may wish to have a different checklist for each piece of equipment you have. Make sure that the category for your template is Inspection Checklist.
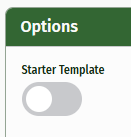
Since you will not be using this template on your bids, make sure that this is not set as a starter template.
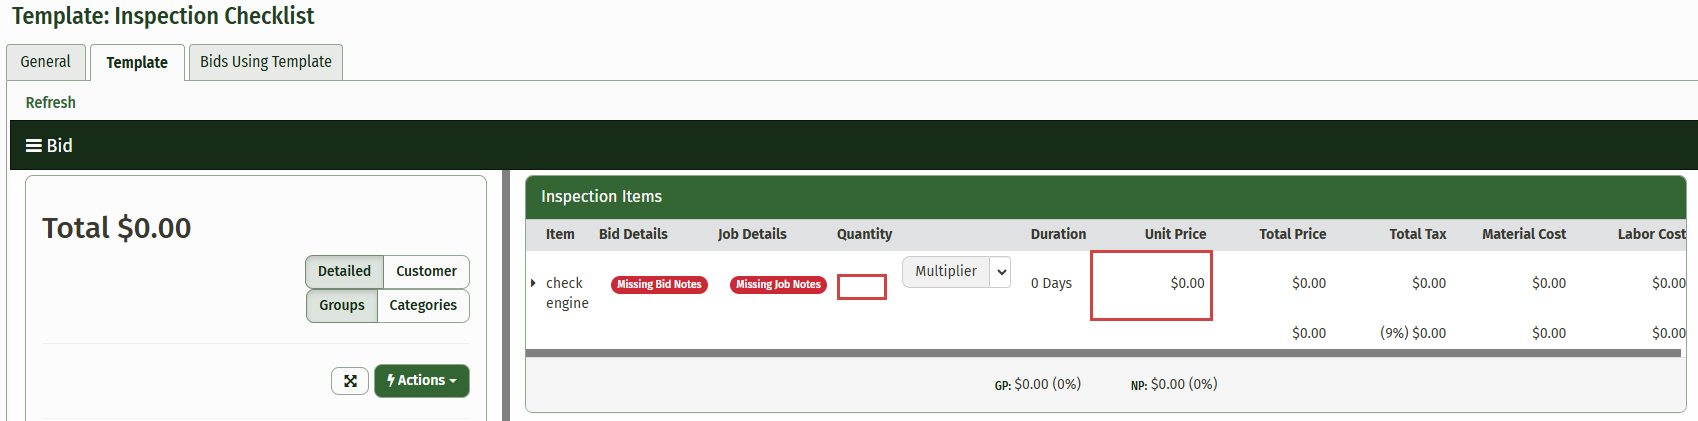
In the ‘Template’ tab, add the inspection checklist items that you created before. The quantity and cost are not important.
Your Inspection Checklist has now been created. In order to assign this checklist to your equipment, send a support ticket into the JobPro Support team letting us know that you have a checklist created and it needs to be assigned to your equipment.
If you have different checklists for different equipment, simply let us know which checklist goes with which equipment and we will get those assigned for you.
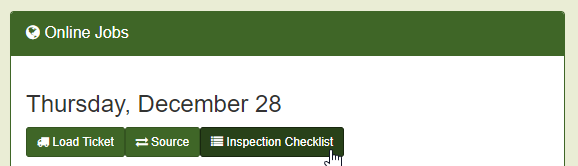
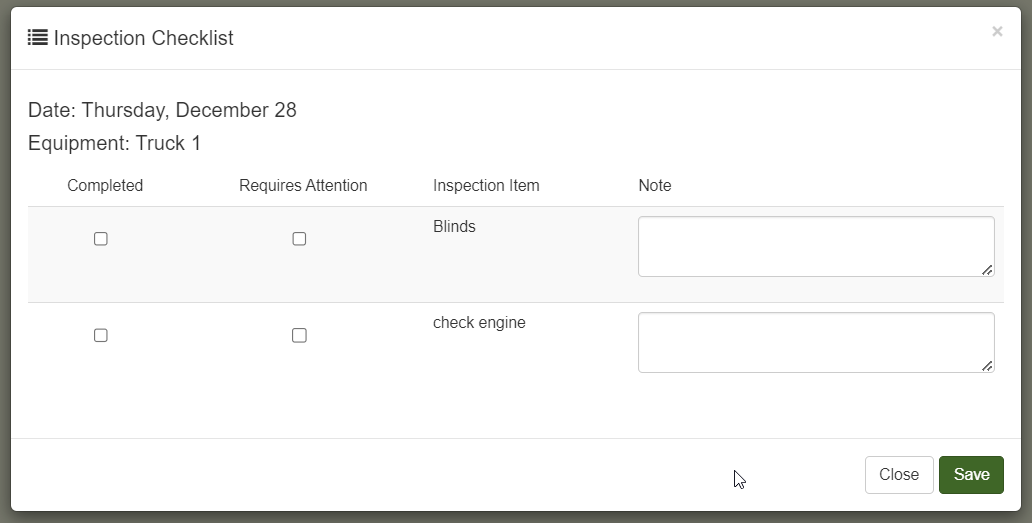
Now that you have the Inspection Checklist set up in your system, create a job as you normally would. Assign a crew and schedule the job. If the resource that is assigned to the job has access to the technician’s platform, they will be able to click on the ‘Inspection Checklist’ button on the home page and fill out the required information.
Inside the checklist, the technician will be able to check whether the item still requires attention. There is also a field to add notes for each checklist item. The technician will then click ‘Save and Complete’ at the bottom of the screen to submit their checklist
If any item has been checked still requiring attention, an email will be sent out to a designated administrator in your system. To set this person up, go to the ‘Settings’ dropdown and click ‘Configure System Settings’
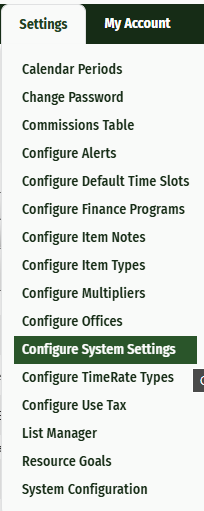
Go to the ‘System Defaults’ tab and you should see ‘Inspection Checklist Email Alert List'. For multiple email addresses, section them with a semicolon ( ; ) and a space.

The email that the administrator will receive will look like the email shown below. It will show: the equipment, date, crew member that entered the checklist, and the item(s) that still require attention. The email will only go out when something still requires attention.

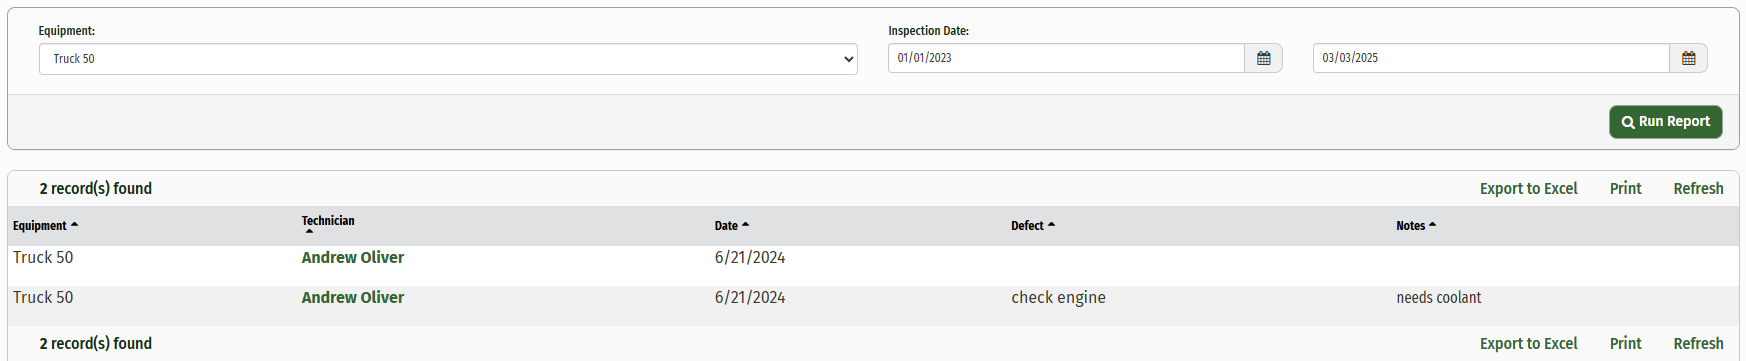
There is also a report that you can generate from all of your Inspection Checklists. This report can be found under the ‘Reports’ dropdown shown below.
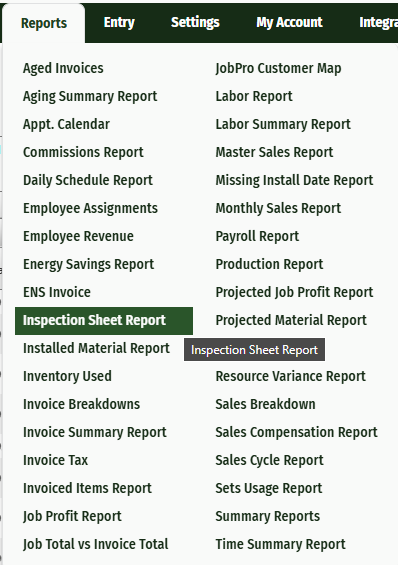
In this report, you can filter based on piece of equipment and inspection date. The results will display: the equipment, technician, date, defect, and whatever notes the technician added to this items, This report can be exported to excel and printed from this page.