Using Non-Foam Inventory Items on a Job
Now that you have entered your non-foam items into inventory, they are ready for use within a job. You will create a bid, per usual, then create the job with the required items. The bidding process is no different with inventory turned on in the JobPro System. Follow the steps below to properly use our Inventory setup.
Loading Material
Before processing your non-foam inventory items on the job processing tab, you must first load your inventory on your equipment through the Daily Inventory Management Screen. For an in depth look at this feature click the link below:
Job Processing
Once your material is loaded onto your truck, you can enter your actuals for your job; this is just like the normal process for entering actuals on a job. This can be completed through the job processing tab on the desktop or the materials tab on the technicians platform.
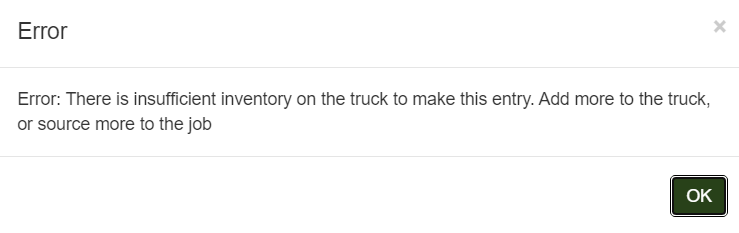
Just to note, the system will not allow you to enter more material on the Job Processing tab than has been loaded to your equipment. If you enter more than you have loaded, an error message will appear. If you need to enter this larger number, you will need to return to the Daily Inventory Management screen and load more material on this truck for this install date
Reconciling Material
Once you have completed your material entries you can return to the Daily Inventory Management screen to reconcile your material. Simply choose the equipment you are working with and you will see the material that is left on your truck.
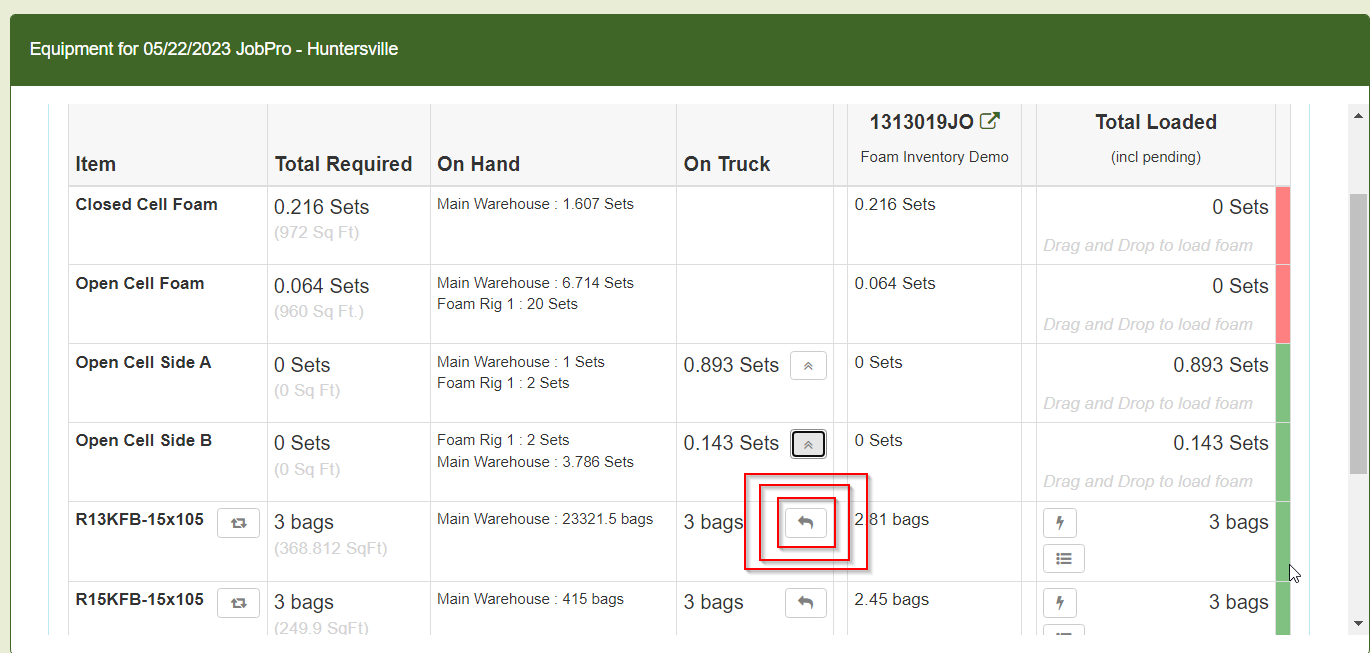
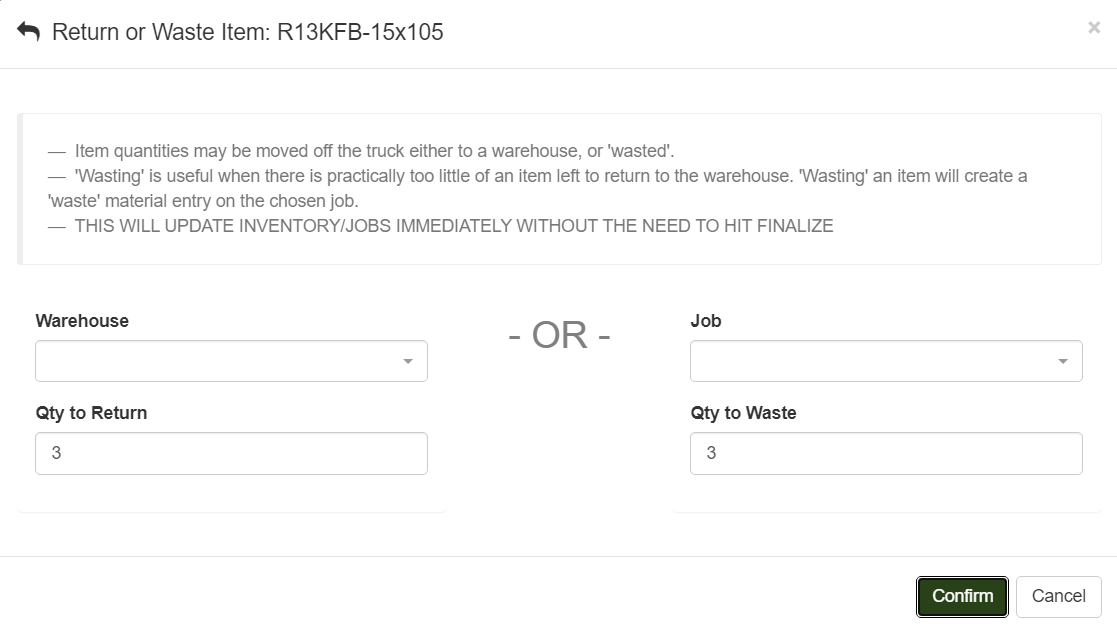
Click the arrow icon on the item you need to reconcile. A pop-up window will appear where you can choose to return this item to the warehouse or waste it to the job. Wasting an item to the job allows you to account for the cost of this material directly onto the job.